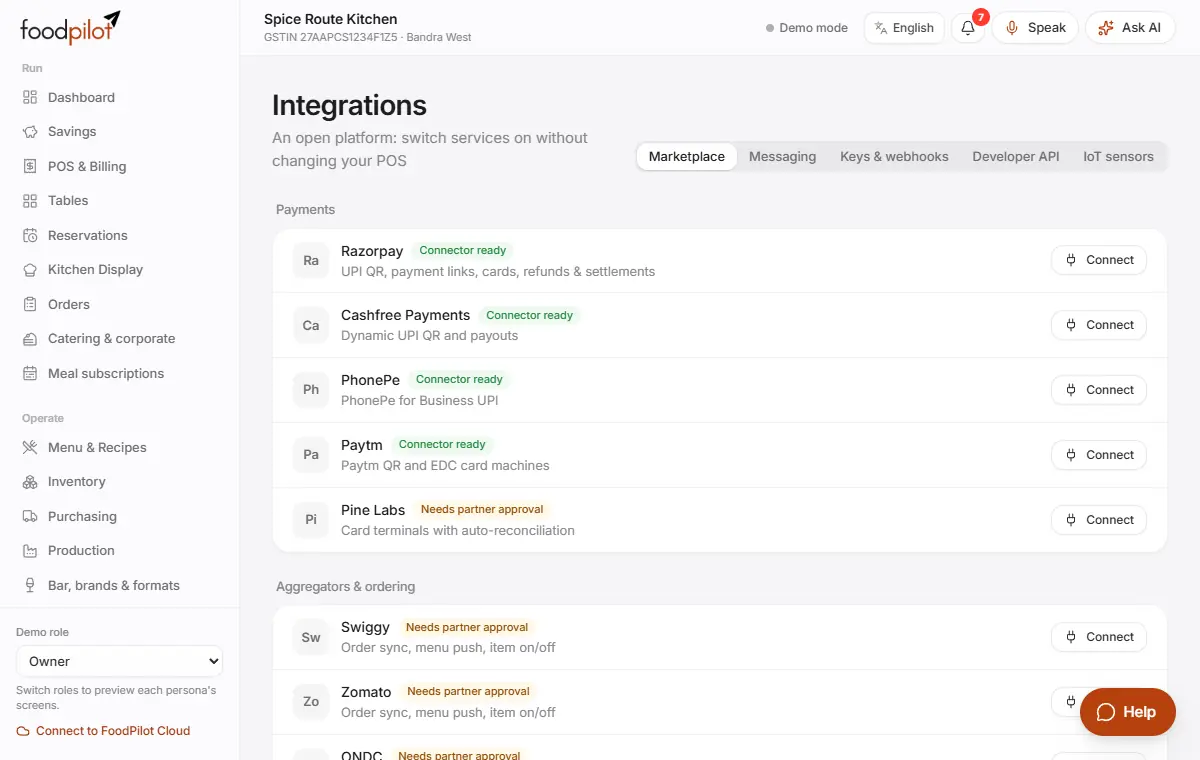
Start 4 min read
Getting started
शुरुआत करें
Sign up, follow the guided setup and make your first bill in a few minutes.
साइन अप करें, गाइडेड सेटअप पूरा करें और कुछ ही मिनटों में पहला बिल बनाएँ।
What it does
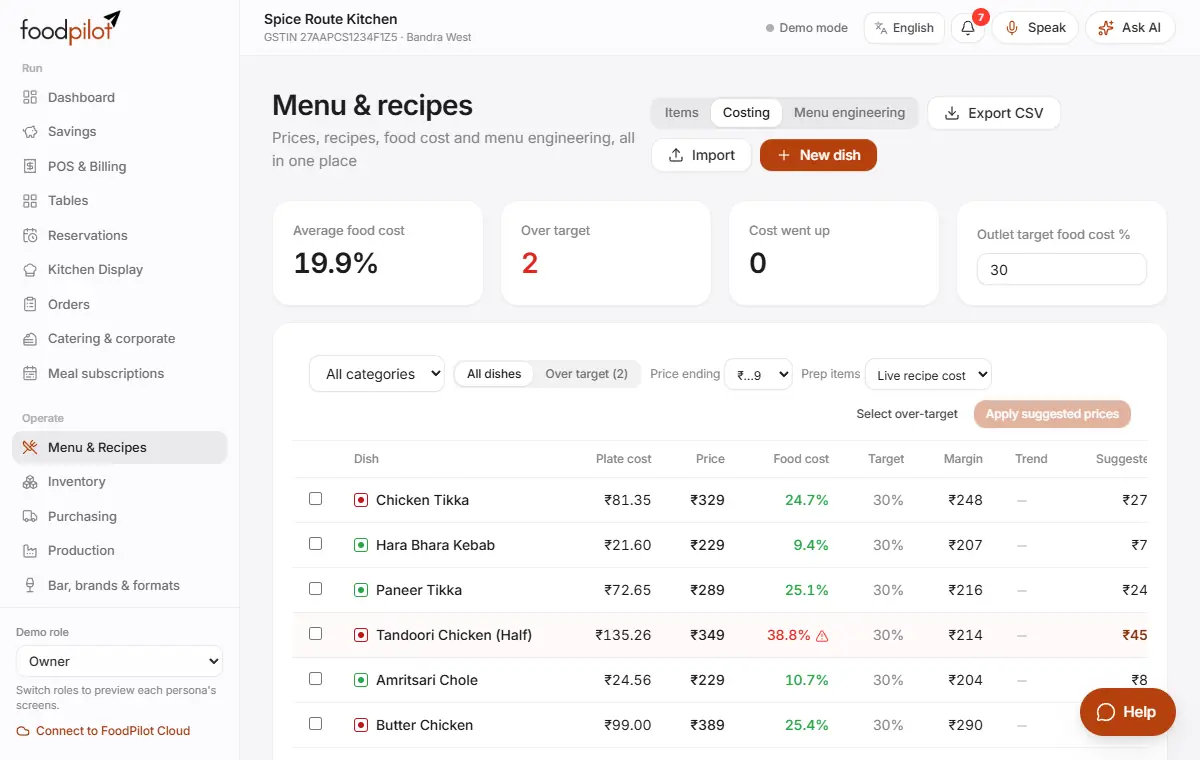
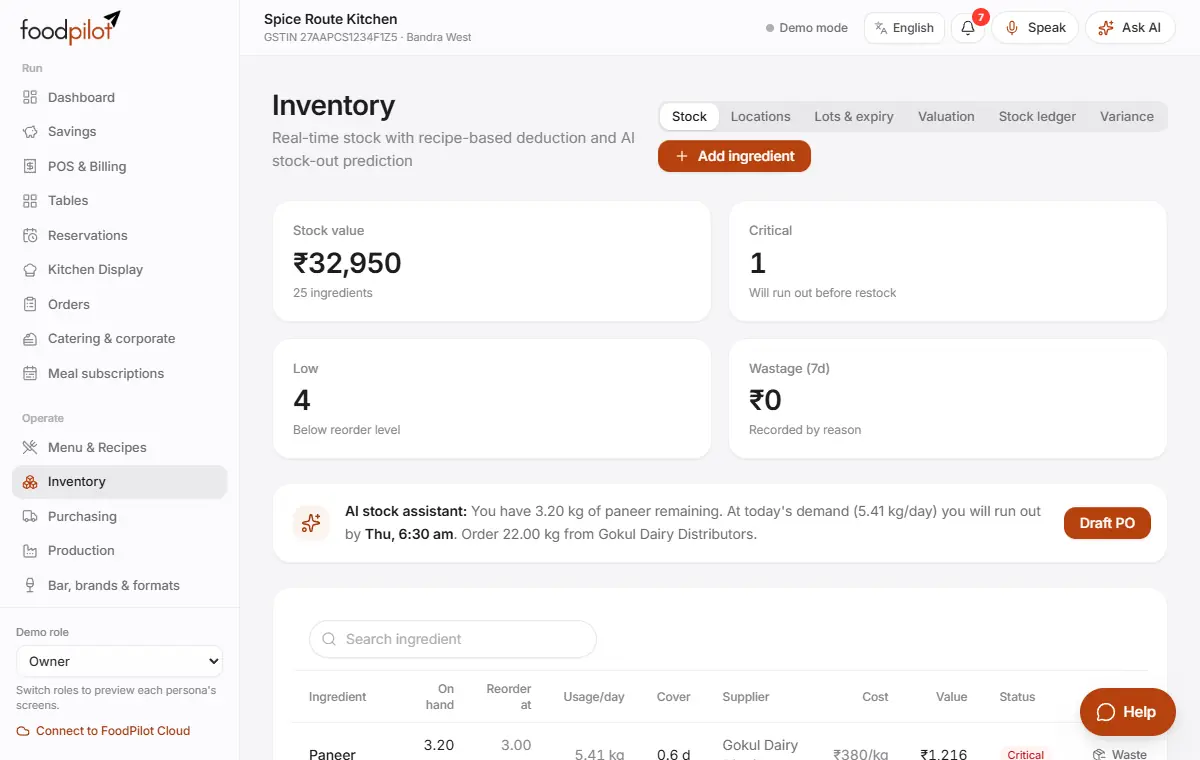
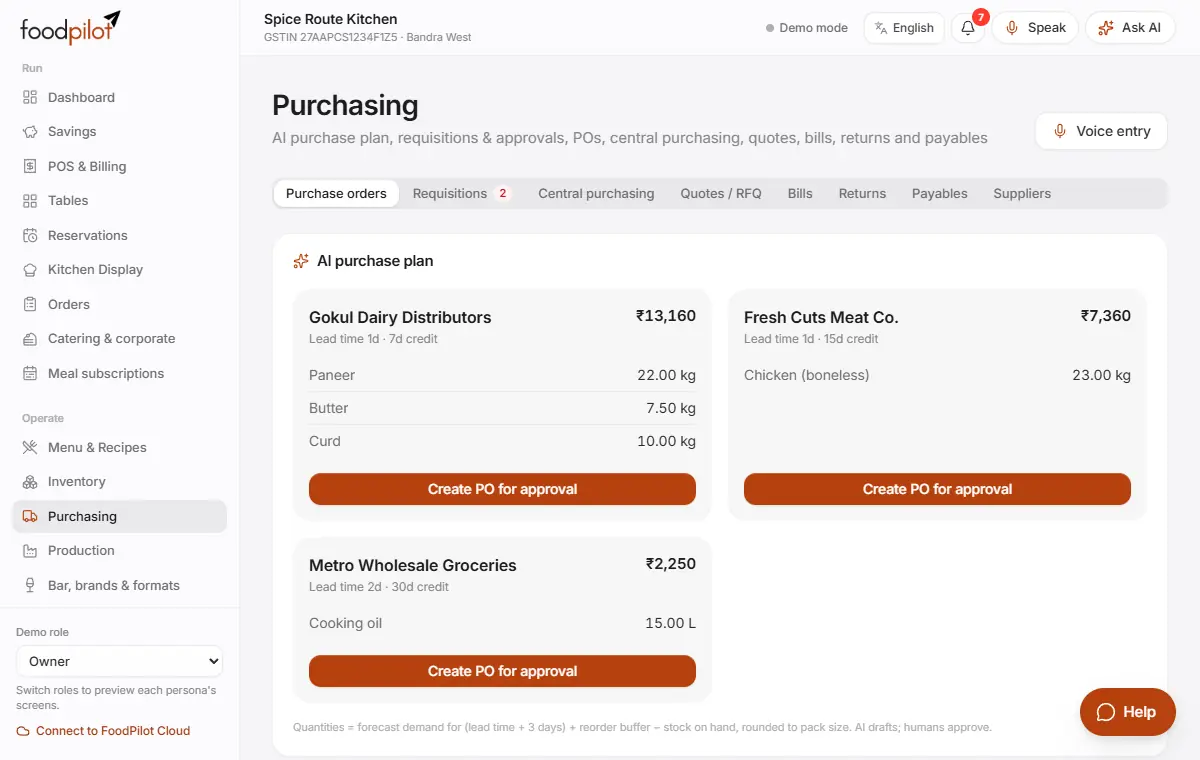
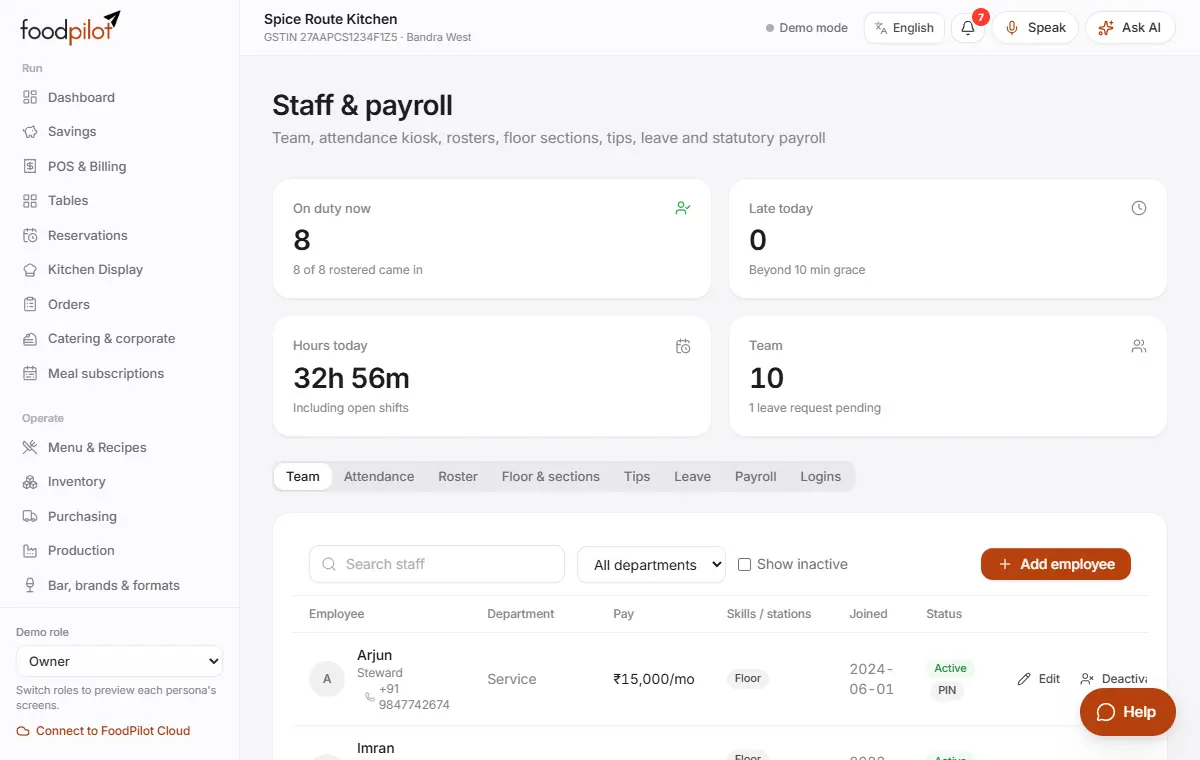
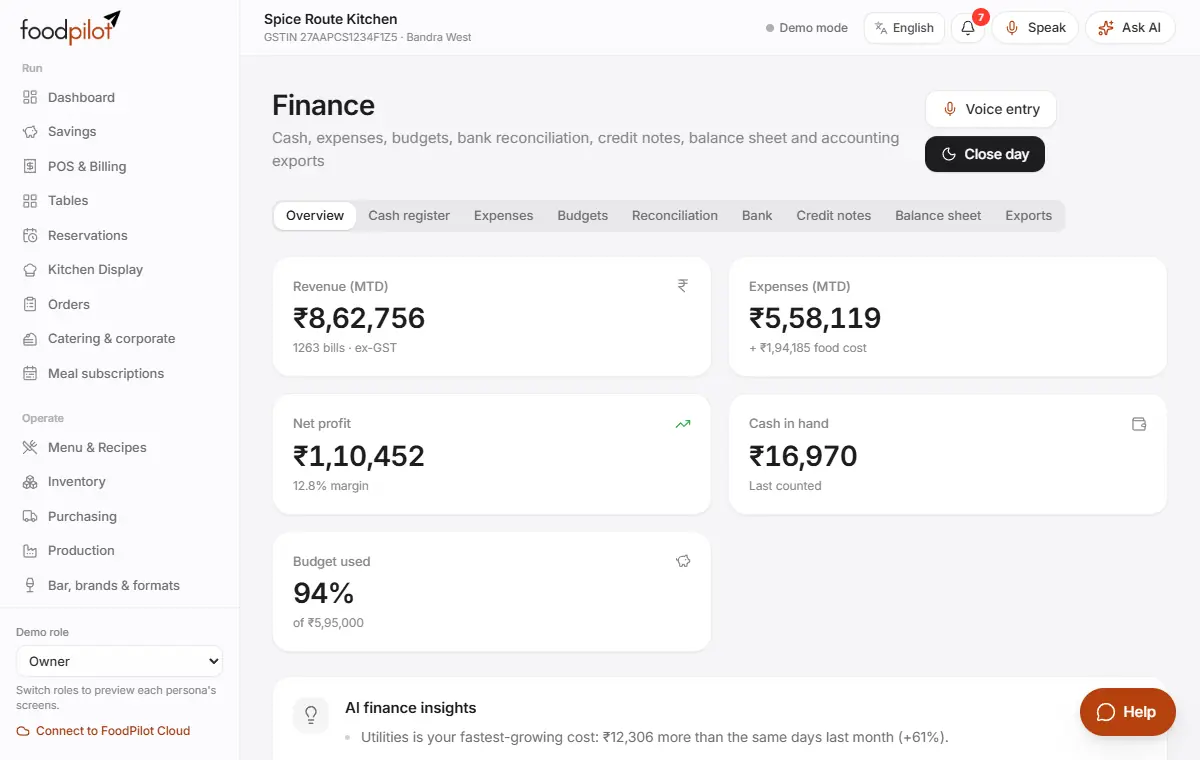
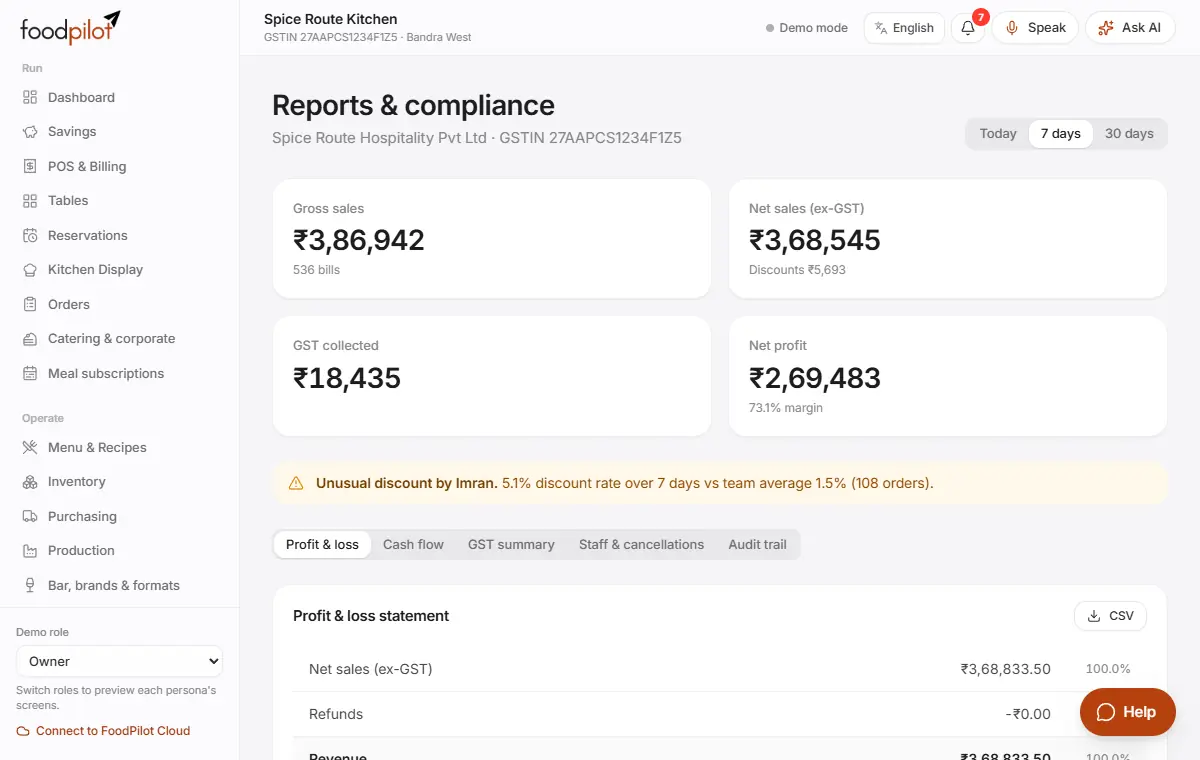
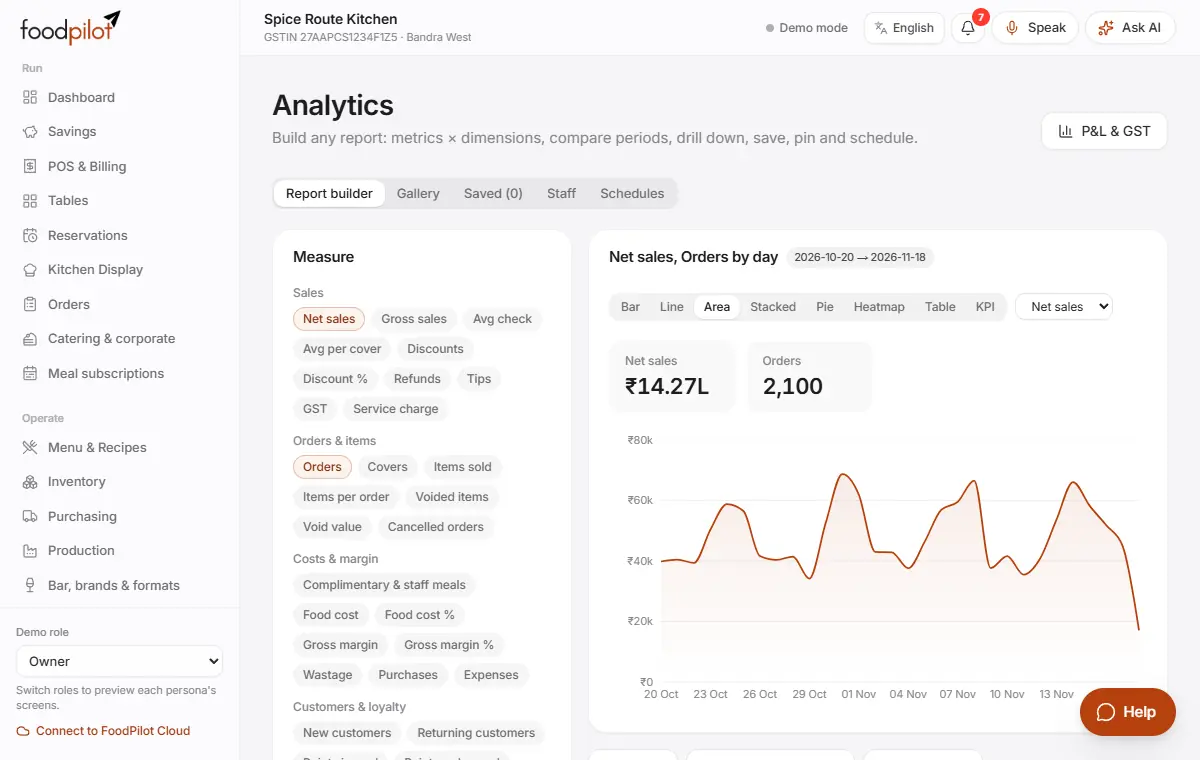
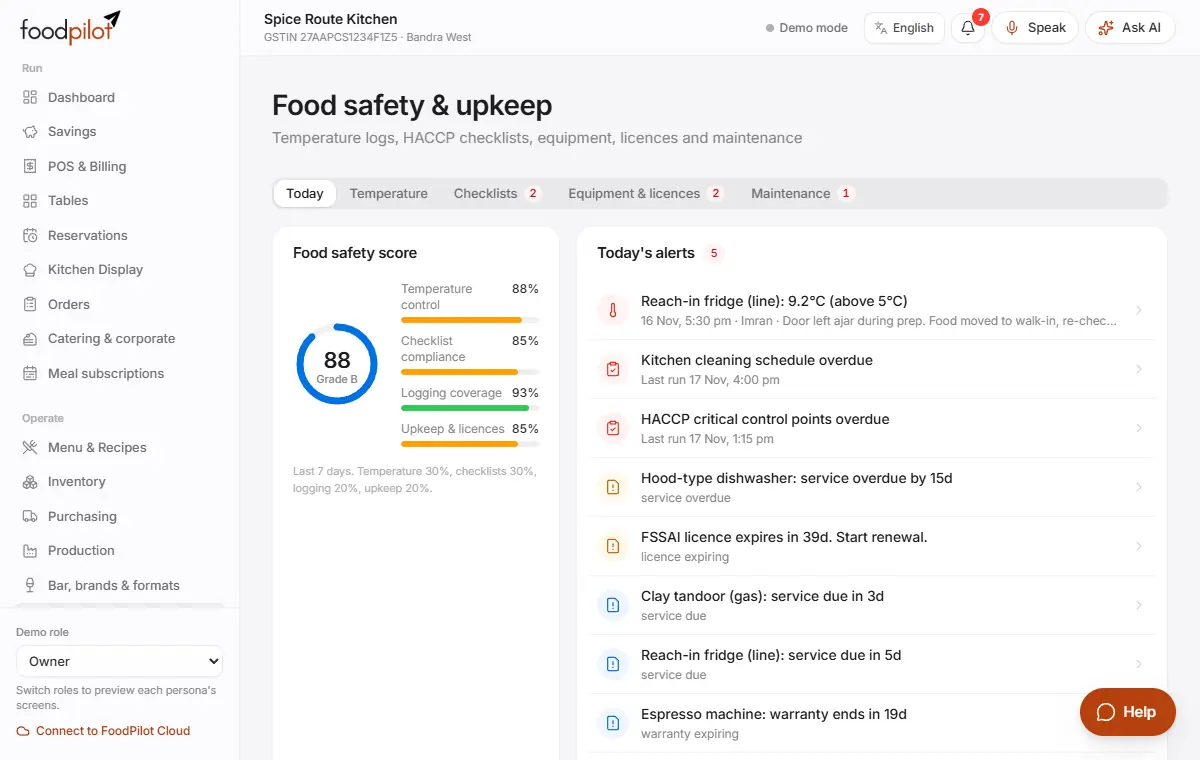
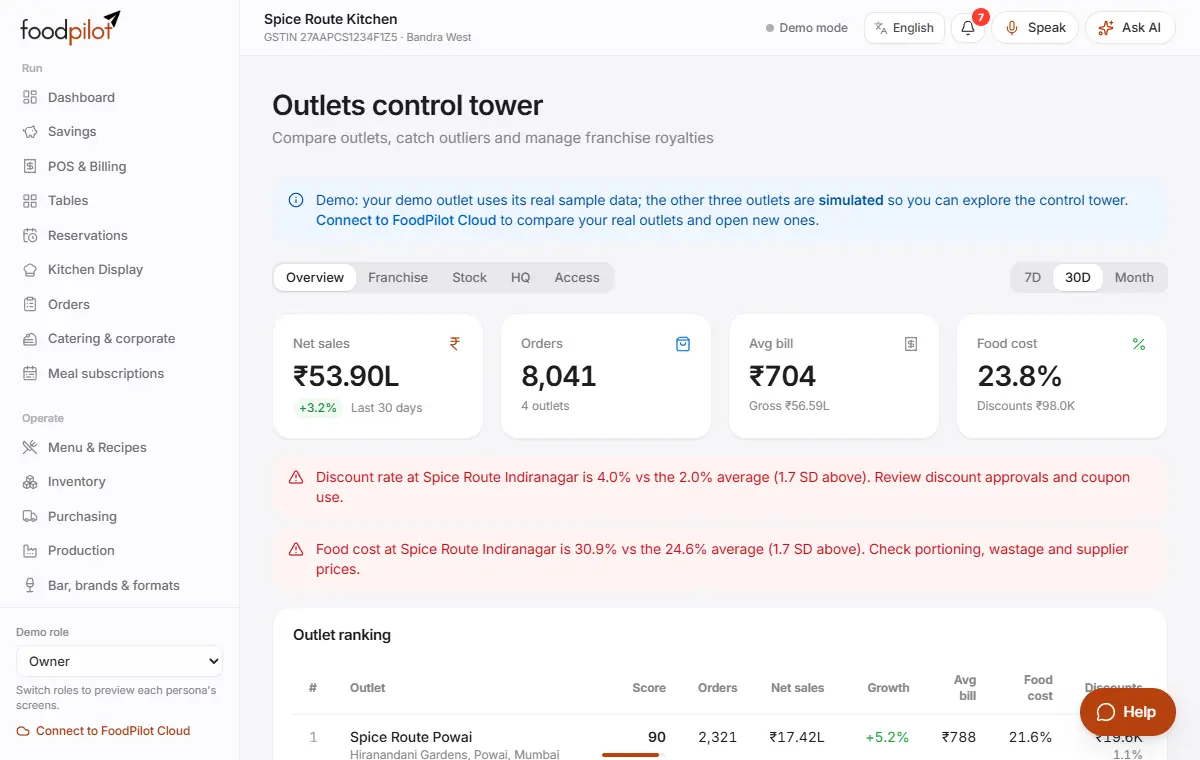
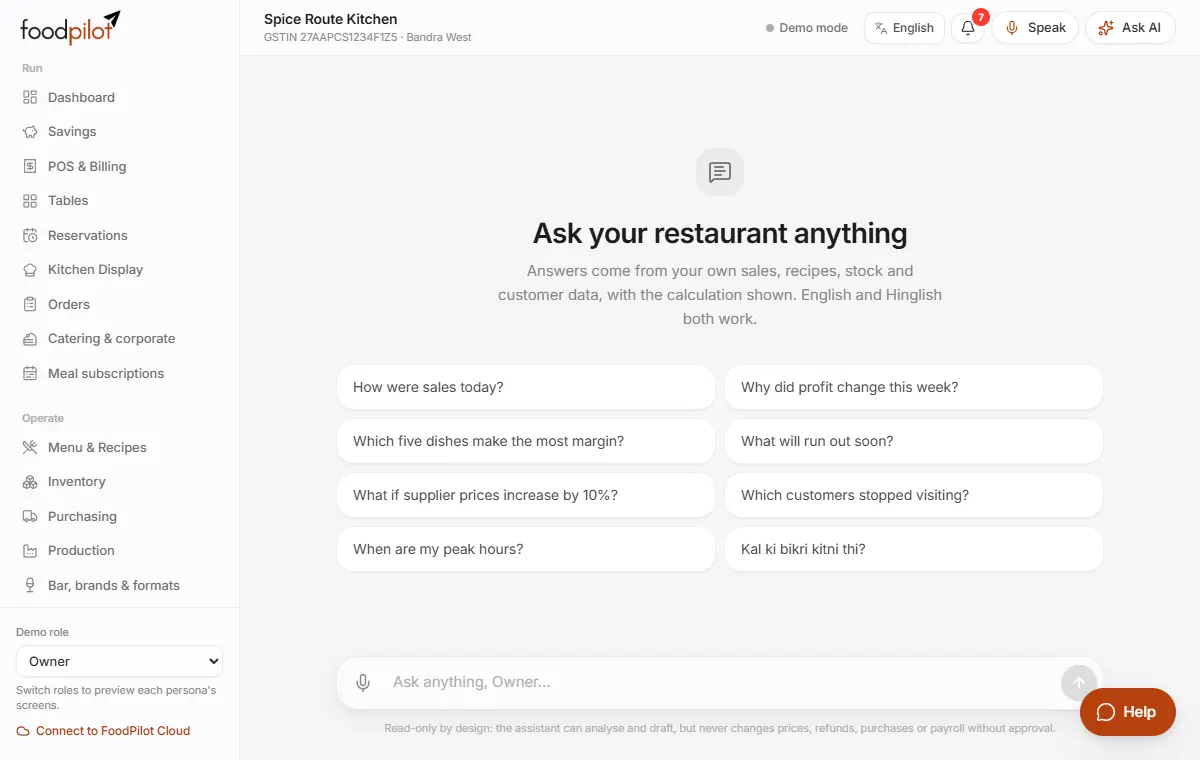
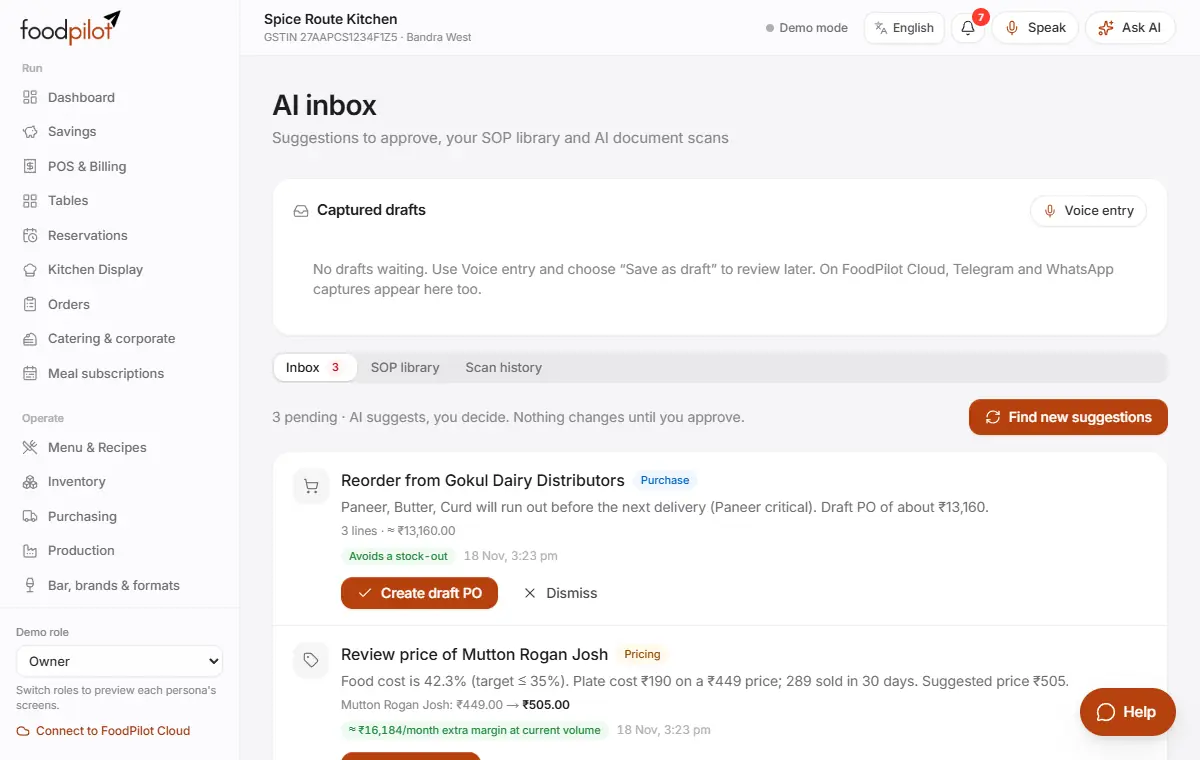
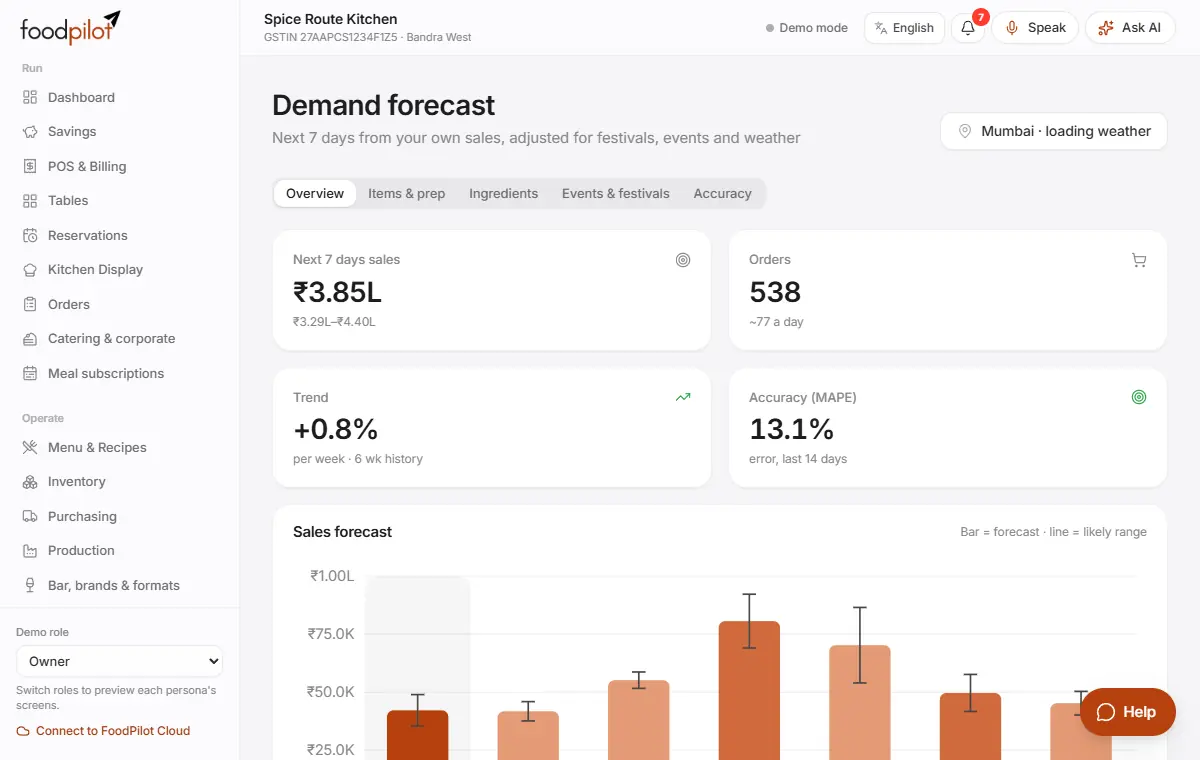
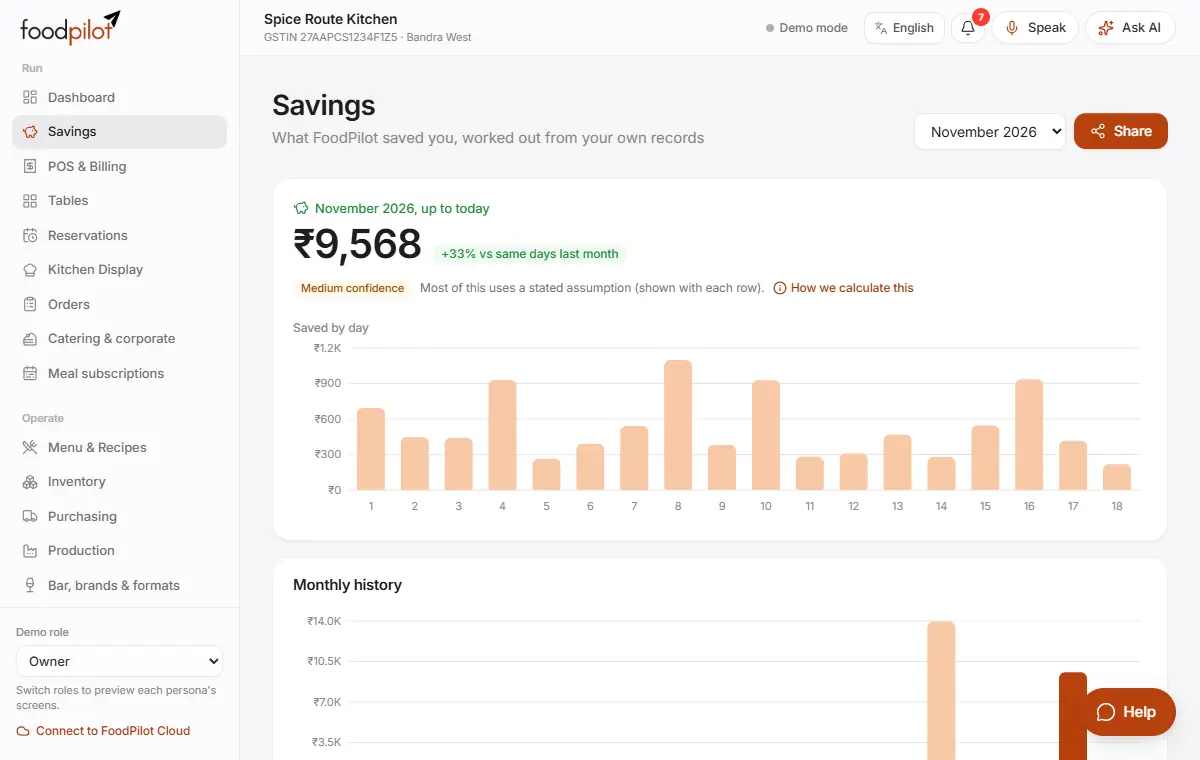
FoodPilot runs your whole restaurant from one app: billing, kitchen, stock, staff, guests and money.
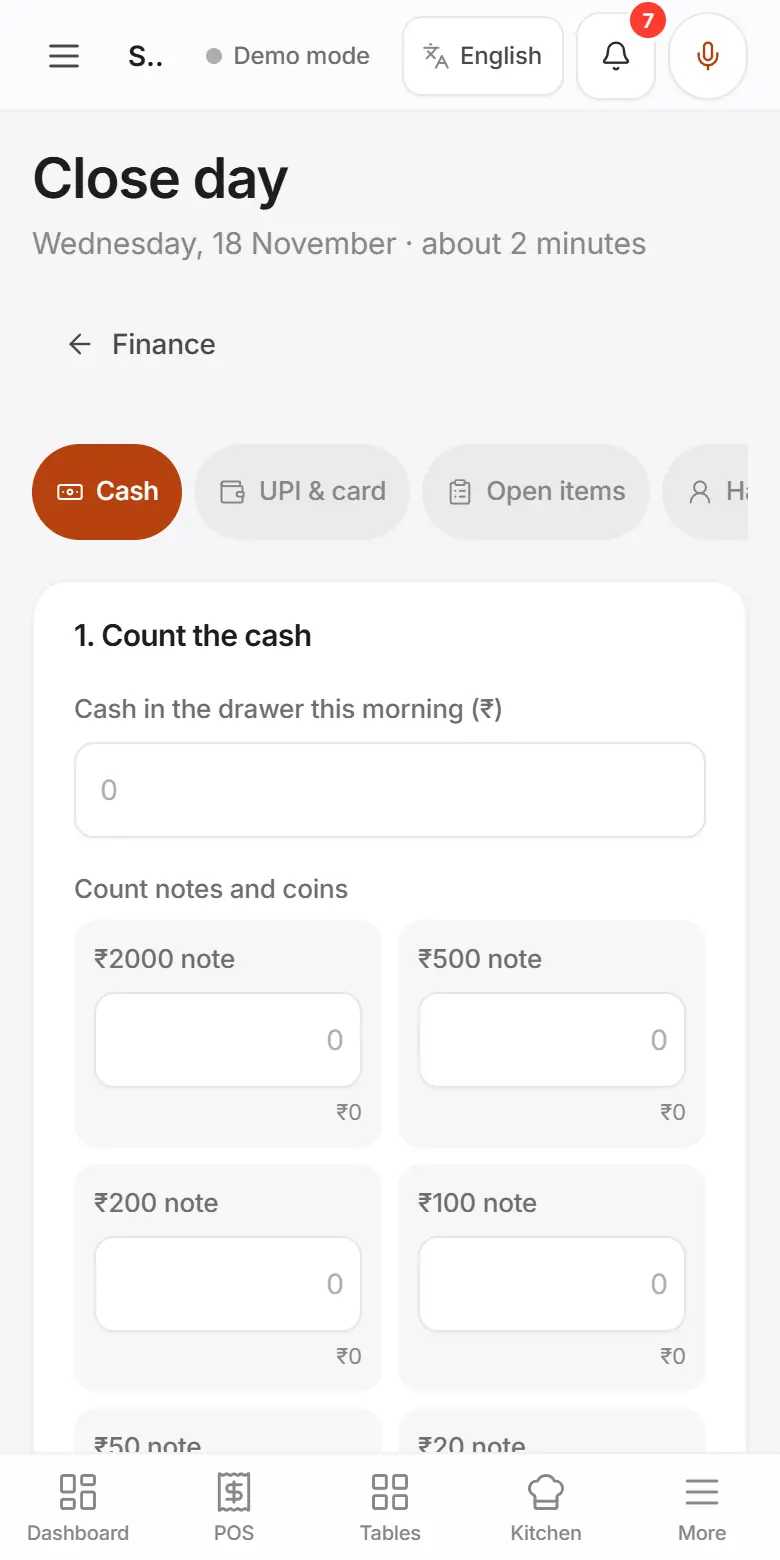
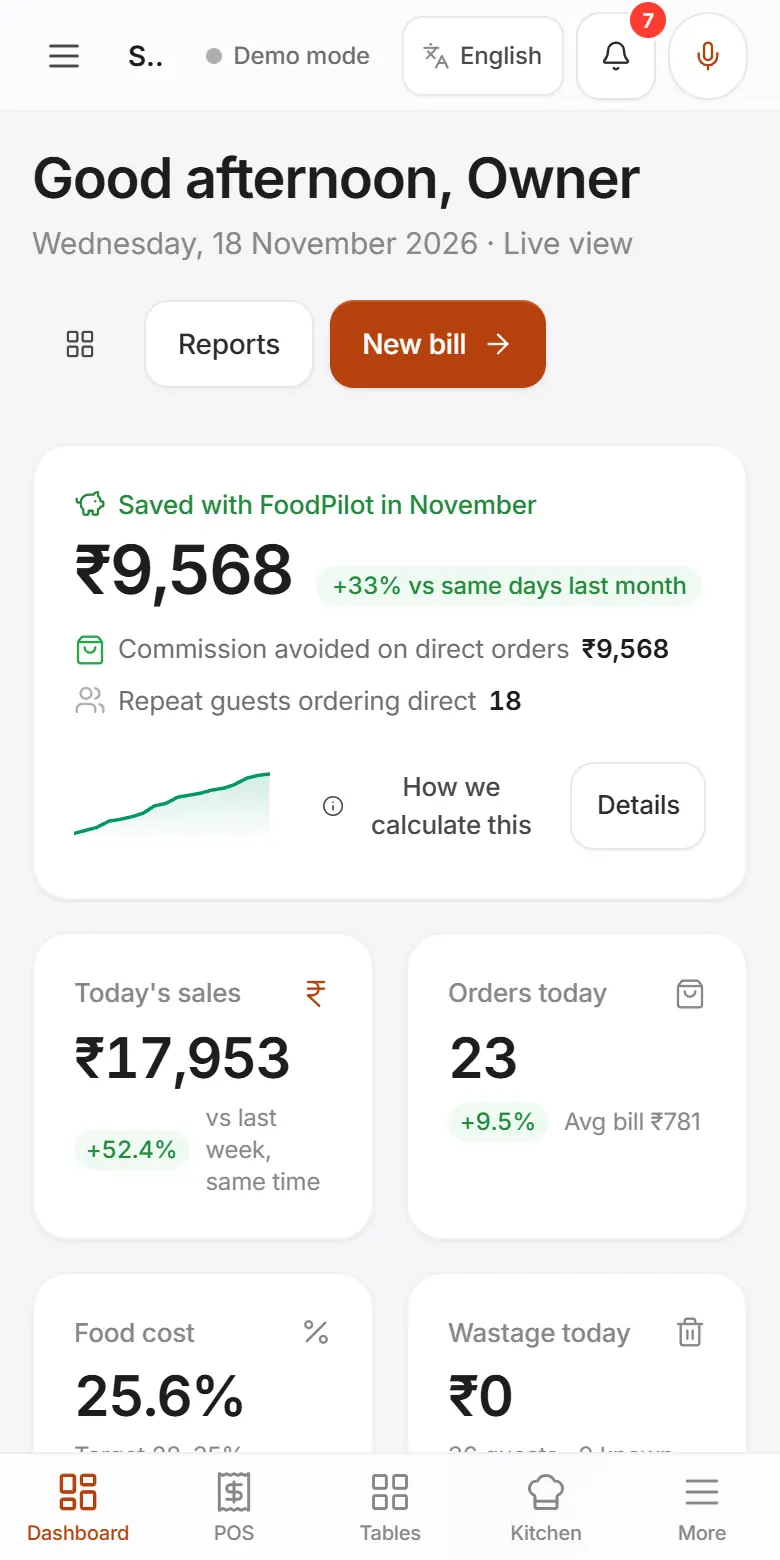
It works in any modern browser on a phone, tablet or computer, and keeps billing when the internet drops.
Sign up, follow the guided setup, and make your first bill in a few minutes.
- Who uses it
- OwnerManager
- Which plan
- Every plan, including Free
- New restaurants get 3 months of every module free. No card needed.
- Where to find it
- www.foodpilot.org → Sign up
How to
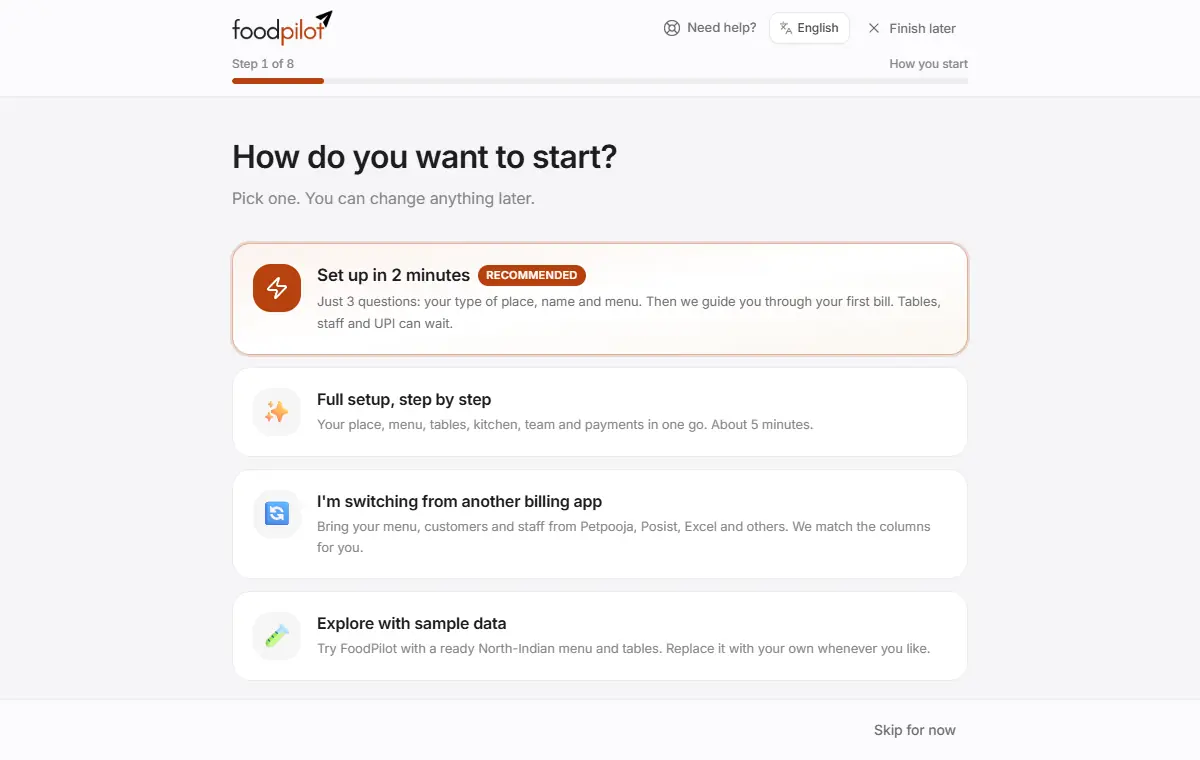
Create your restaurant
foodpilot.org → Sign up → Create restaurant
- Step 1: Open www.foodpilot.org/signup.
- Step 2: Tap Continue with Google or Continue with email. With email, type the 6-digit code we send you and tap Continue.
- Step 3: Under Name your restaurant, type your restaurant's name and tap Create restaurant.
- Step 4: No email? Tap Use mobile number instead. Fill in your restaurant name, your name, mobile number and a password (8 characters or more). Under Get started with, choose My own menu (recommended), Sample menu to explore or Sample menu + 30 days of sales. Tap Create restaurant.
- Step 5: FoodPilot opens the guided setup.
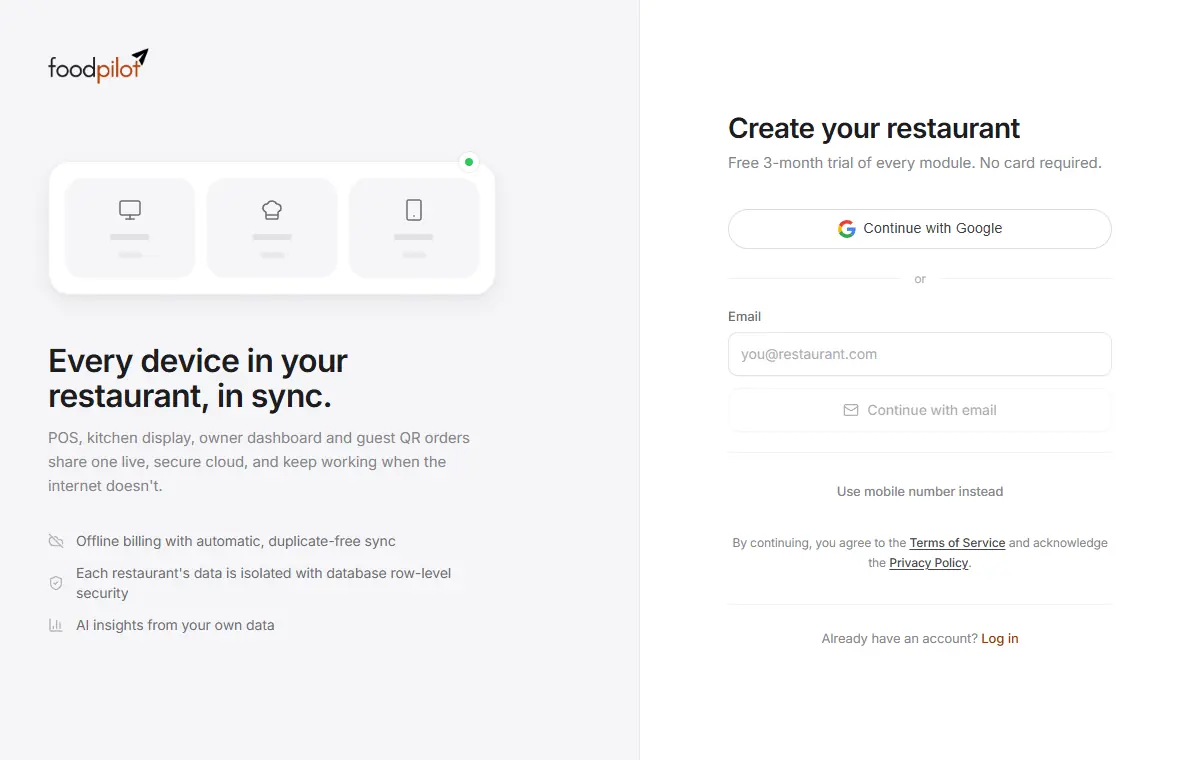
Follow the guided setup
Opens by itself after sign-up
- Step 1: How do you want to start? Pick Set up in 2 minutes (recommended), Full setup, step by step (about 5 minutes), I'm switching from another billing app, or Explore with sample data.
- Step 2: What kind of place do you run? Pick the closest type, such as dhaba, café or fine dining. FoodPilot sets up the right screens, kitchen counters and billing defaults.
- Step 3: Your restaurant: type the name as it should appear on bills. GSTIN, FSSAI, phone and address can wait. Tap Save and continue.
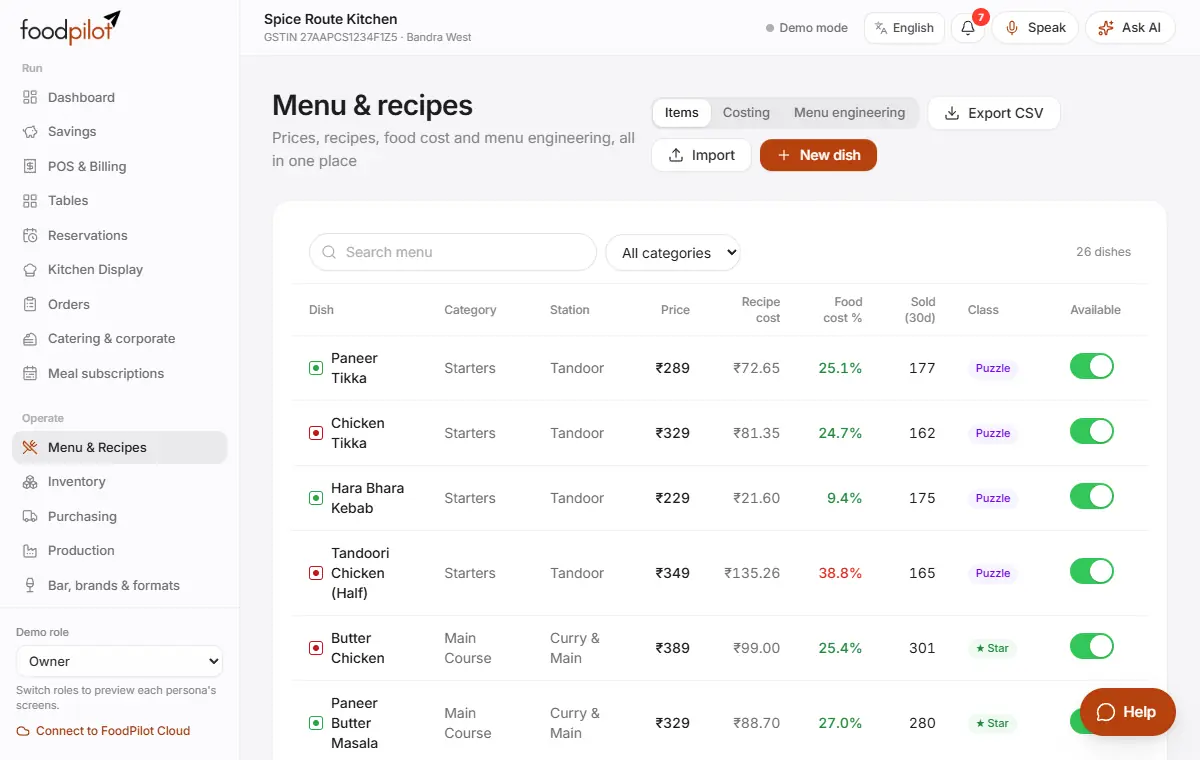
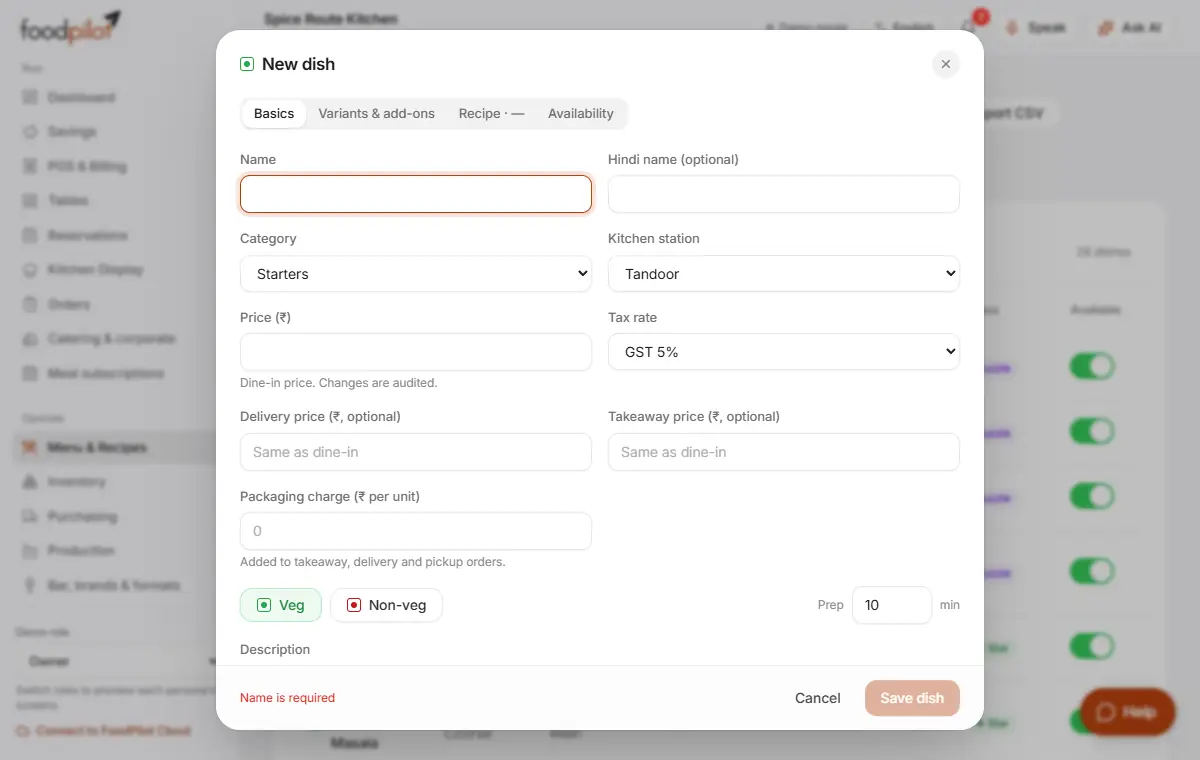
- Step 4: Your menu: Start from a ready menu (tick what you sell and type your prices), Click photos of your menu card, Upload from Excel / old POS, Say your dishes or Type it.
- Step 5: In the full setup you also add your tables (Create tables), kitchen counters (Save stations), your team (or Just me for now) and your UPI ID, so every bill gets a UPI QR.
- Step 6: At the end, tap Make my first bill. FoodPilot shows you each tap. Choose to practise first if you like: a practice bill isn't counted as a sale.
Tap Skip for now on any step. You can come back to it later from the dashboard or from Setup.
Check your setup
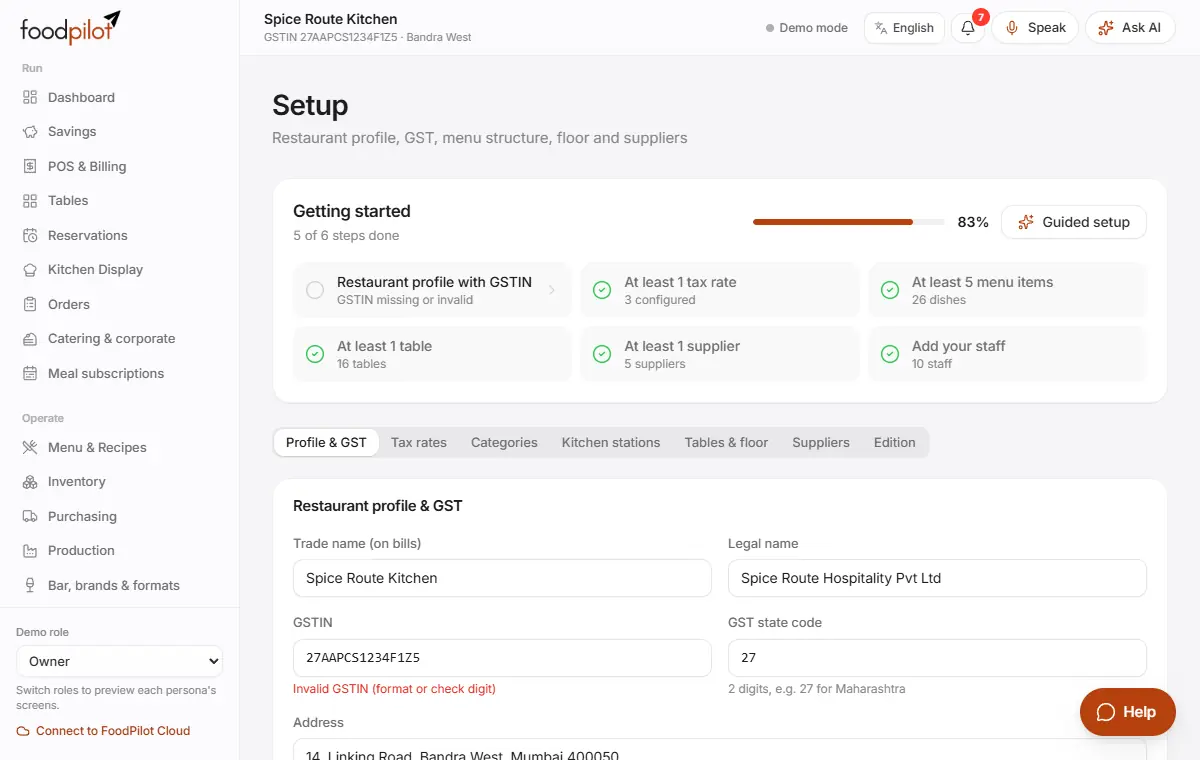
Setup
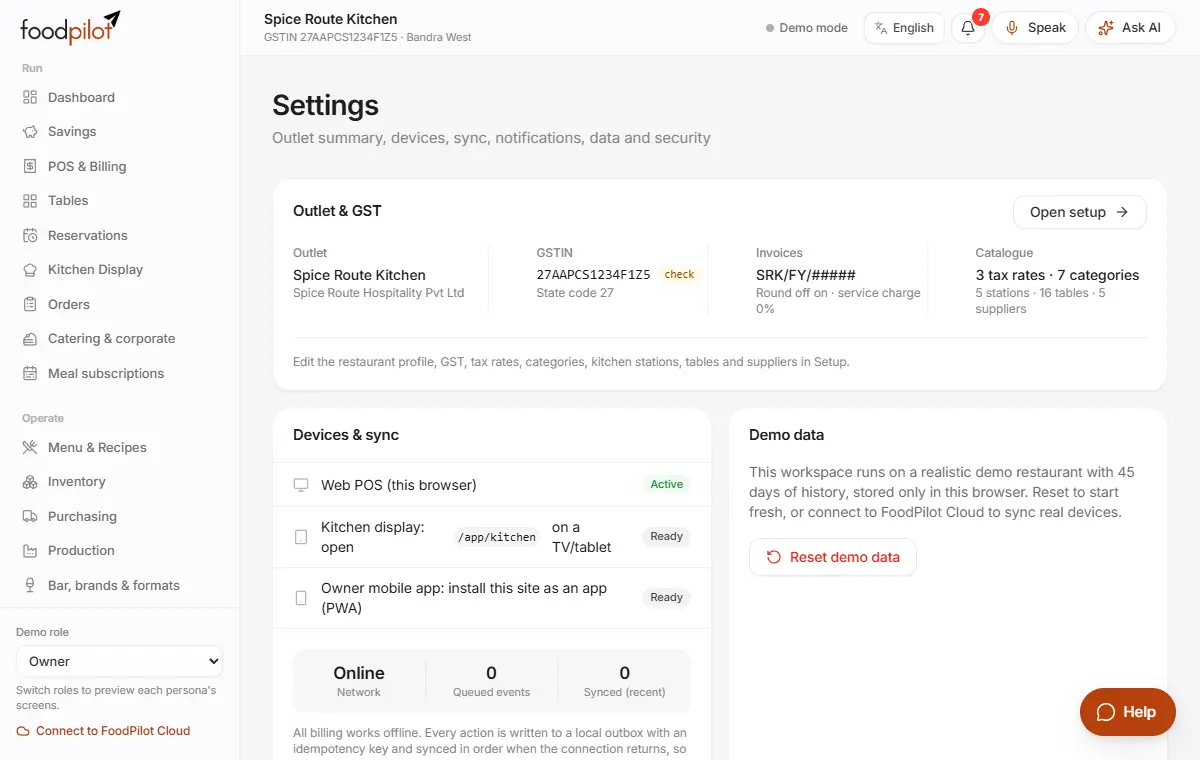
- Step 1: Open Setup in the sidebar. On a phone, tap More first.
- Step 2: Profile & GST: legal name, address, GSTIN and state. The state decides whether bills show CGST + SGST or IGST.
- Step 3: Tax rates: check the GST rates your dishes use.
- Step 4: Categories: your menu sections, for example Starters, Main course and Beverages.
- Step 5: Kitchen stations: where KOTs go, for example Tandoor, Chinese or Bar.
- Step 6: Tables & floor: your tables, for dine-in billing and table QR ordering.
- Step 7: Edition: pick the preset closest to your business (Dhaba, Café, QSR, Fine dining, Cloud kitchen, Bakery, Bar & pub, Food truck or Enterprise) and tap Apply edition.
Make your first bill
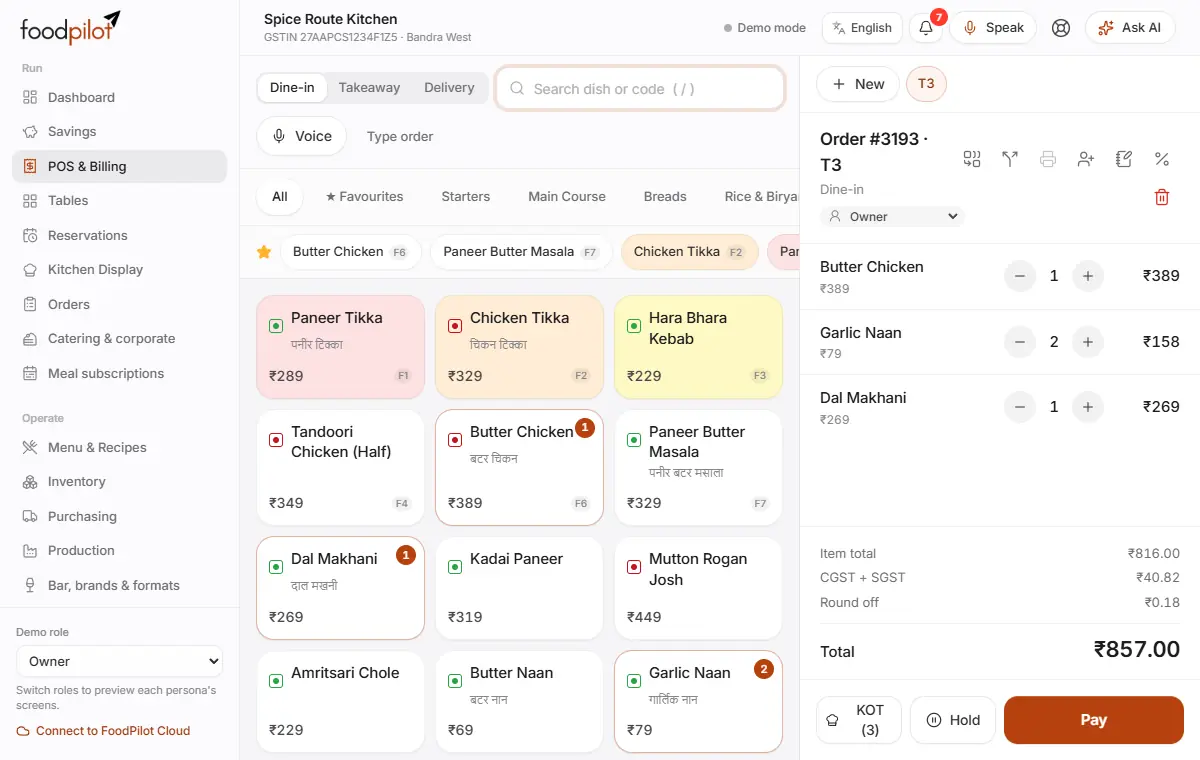
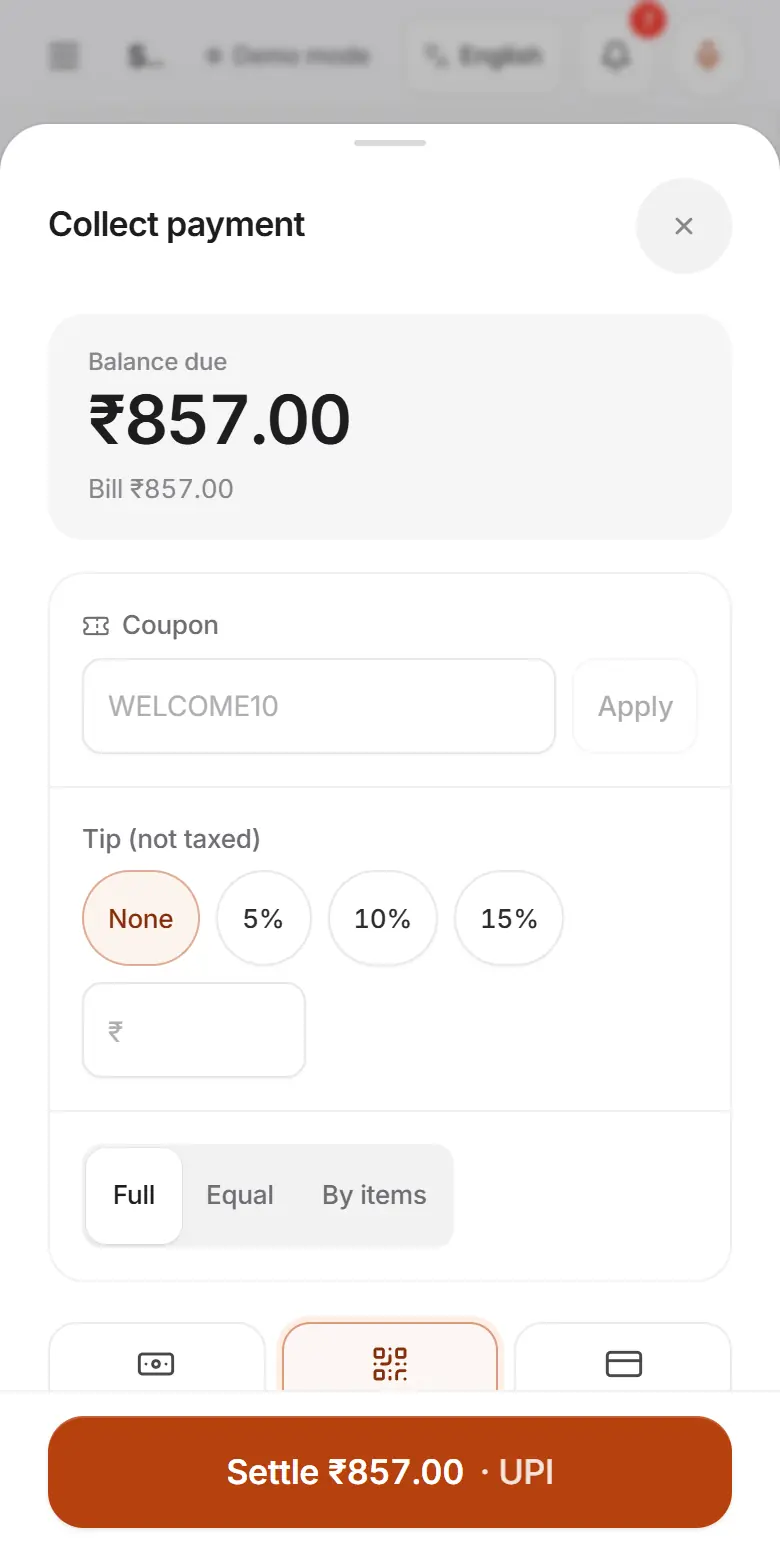
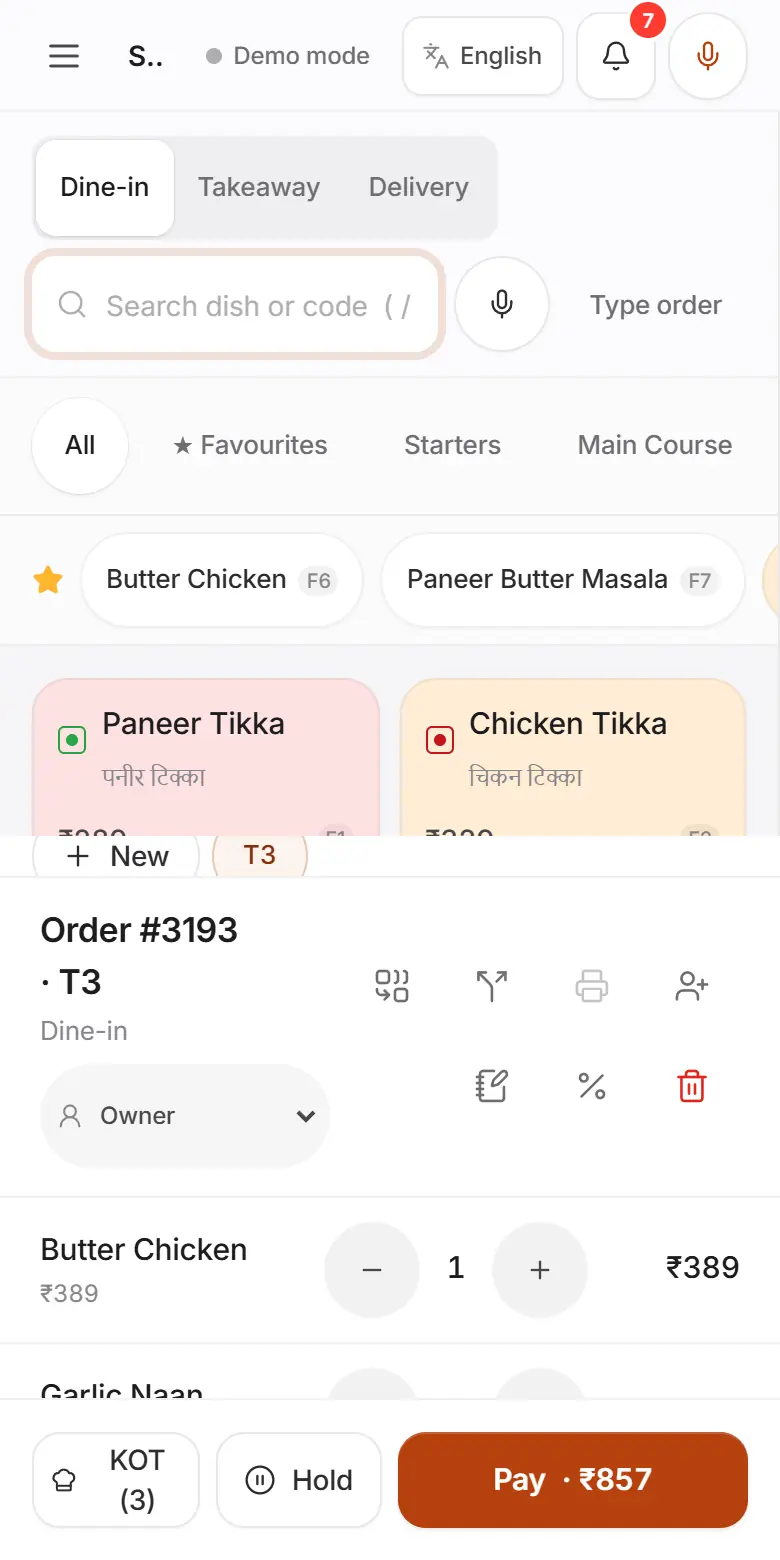
POS & Billing → Takeaway → tap a dish → Pay → Cash → Settle
- Step 1: Open POS & Billing.
- Step 2: Tap Takeaway.
- Step 3: Tap a dish to add it.
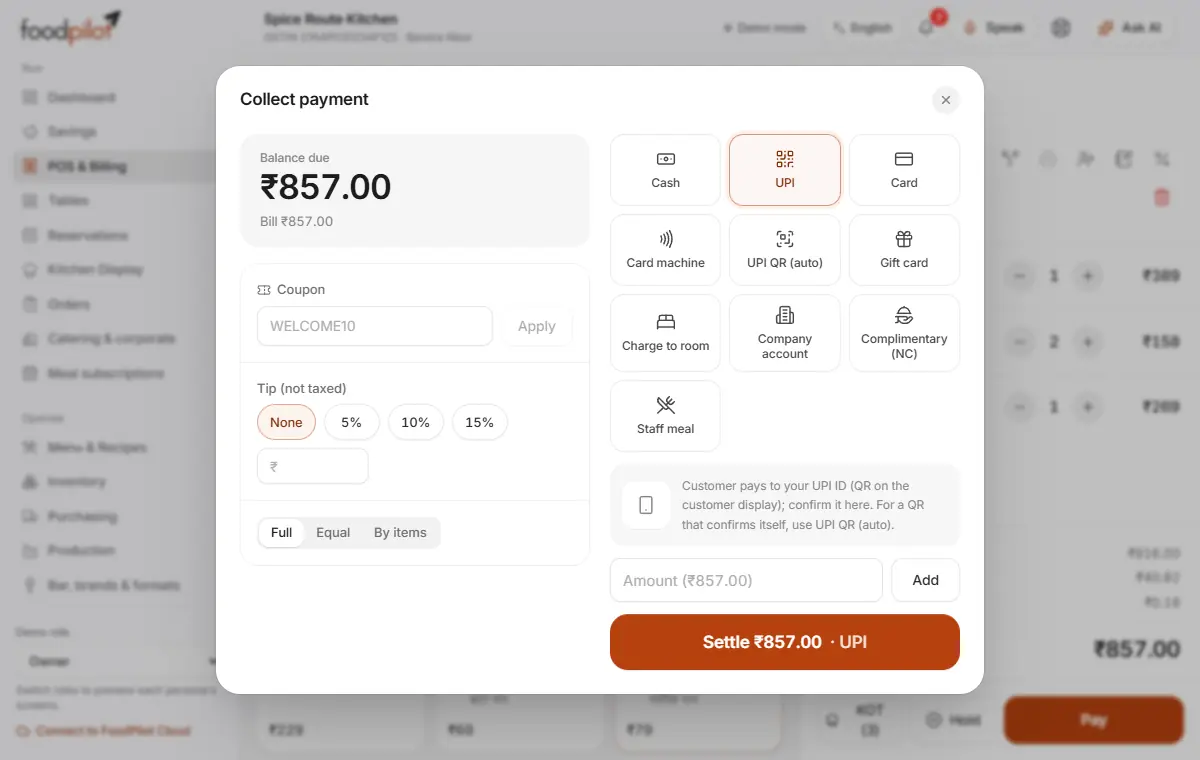
- Step 4: Tap Pay, then Cash.
- Step 5: Tap Settle ₹… · Cash. The invoice opens. Tap Print or Done.
Try the demo first
foodpilot.org → Open live demo
- Step 1: On the home page, tap Open live demo. You don't need to sign up.
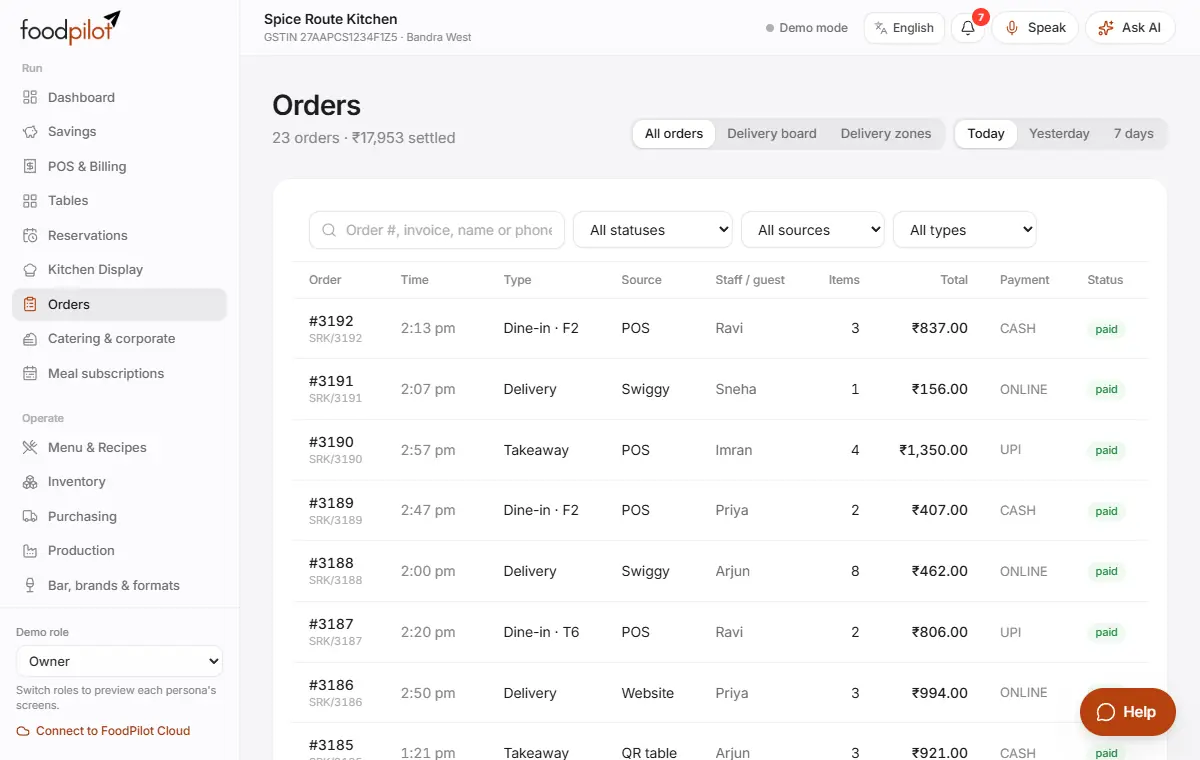
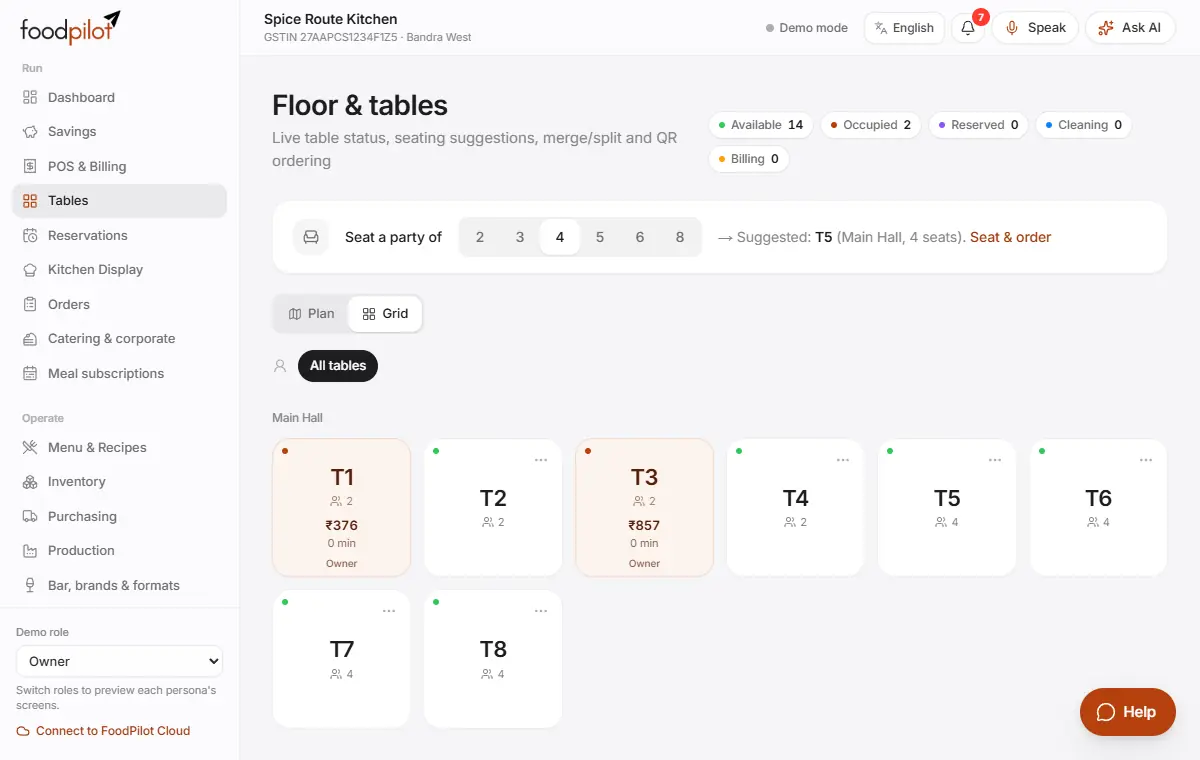
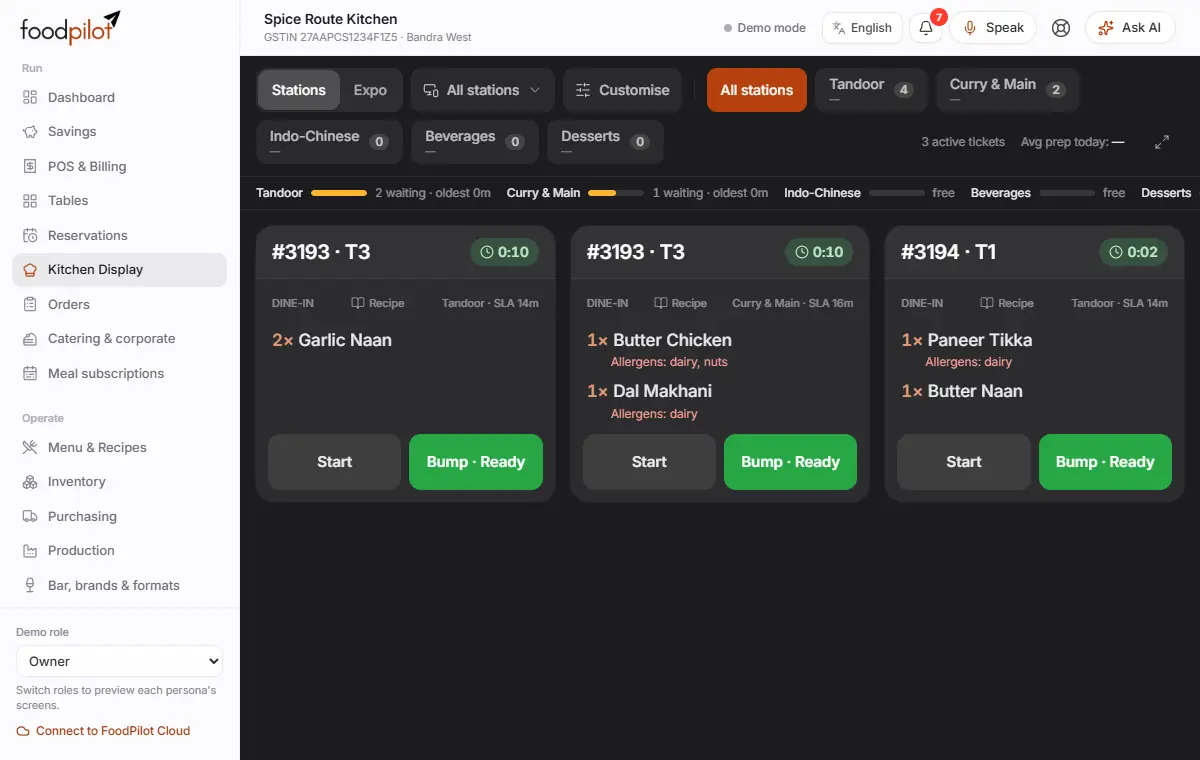
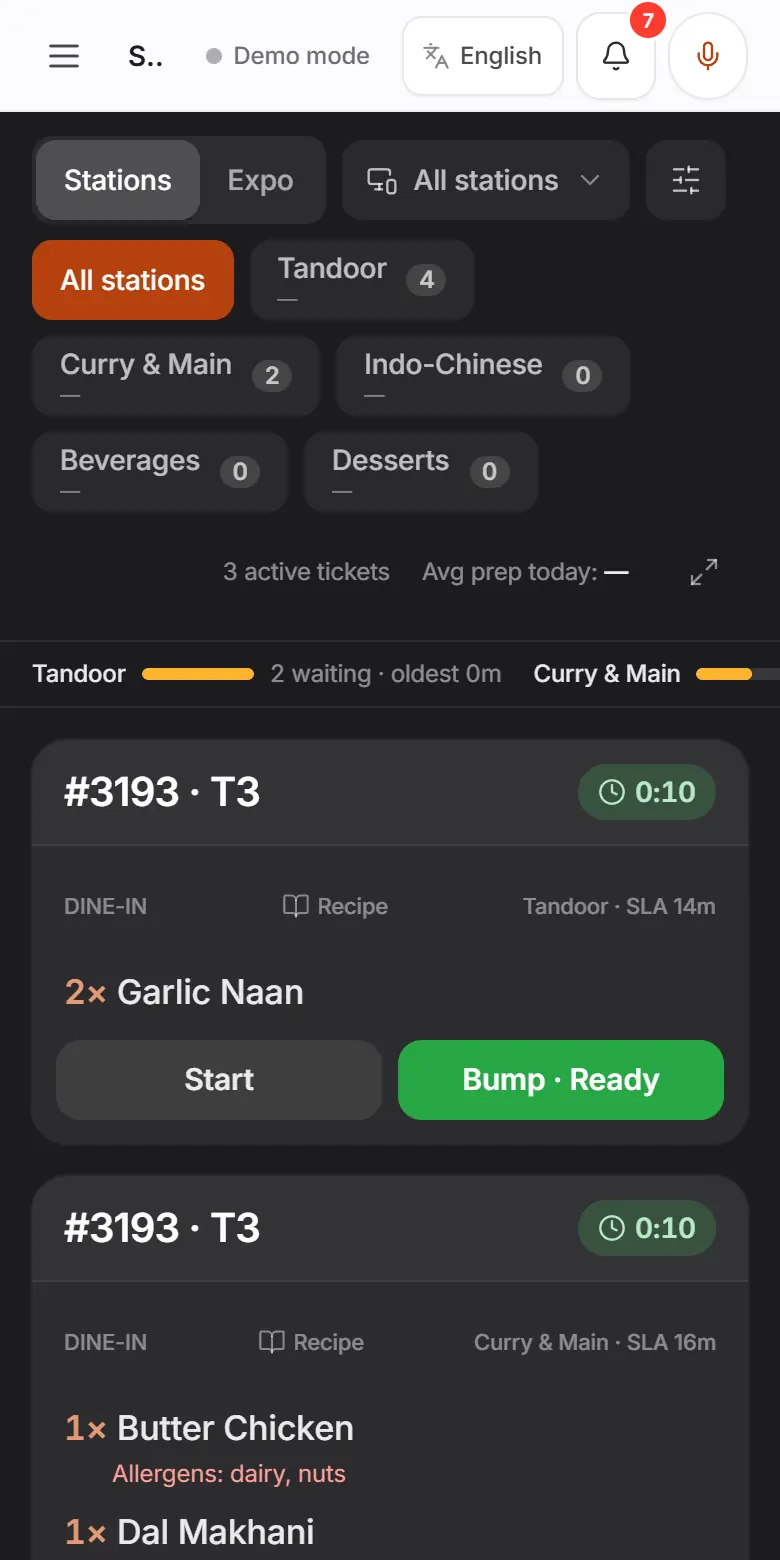
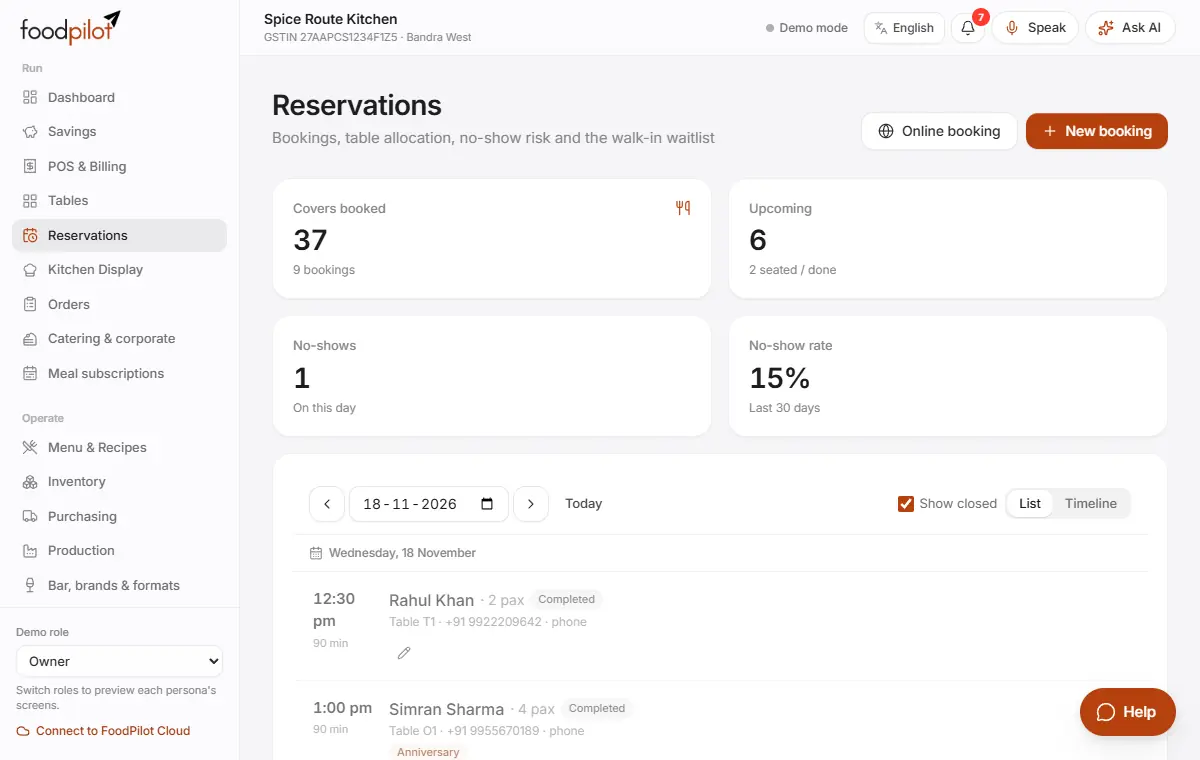
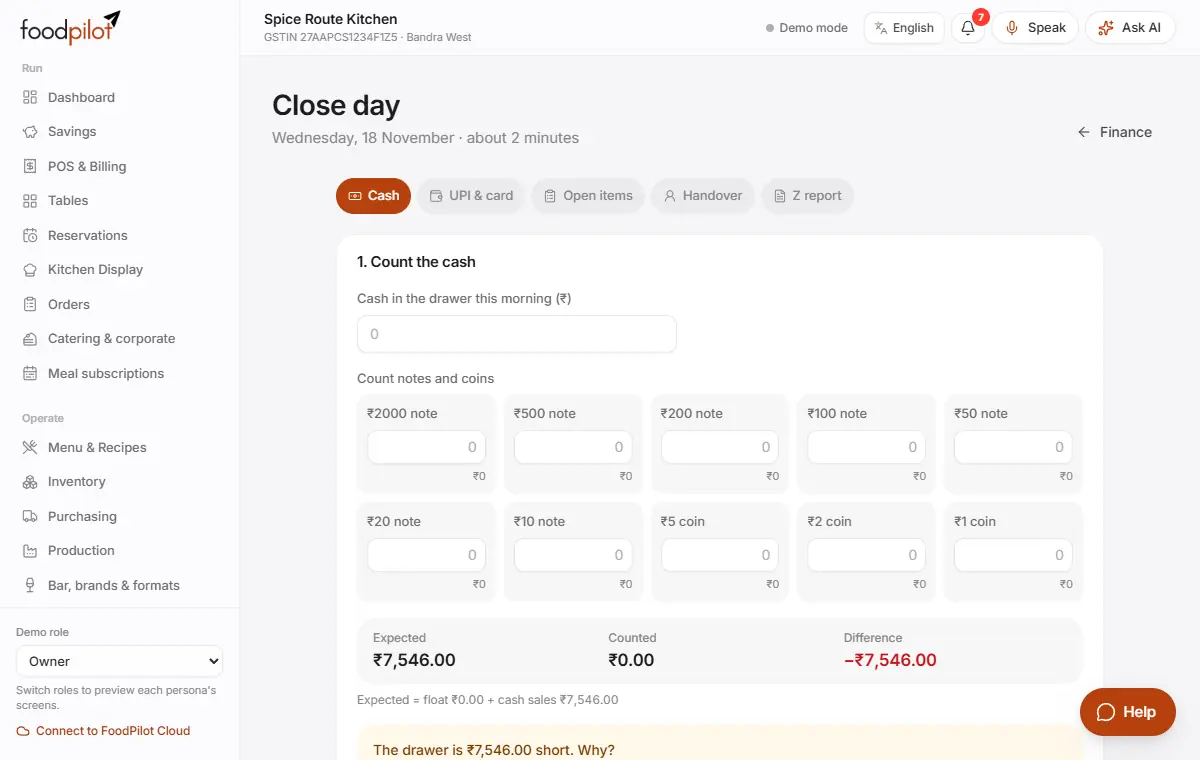
- Step 2: The demo has a sample menu, tables and orders. It is saved only in this browser.
- Step 3: Change Demo role at the bottom of the sidebar to see what a cashier, waiter or chef sees.
Tips
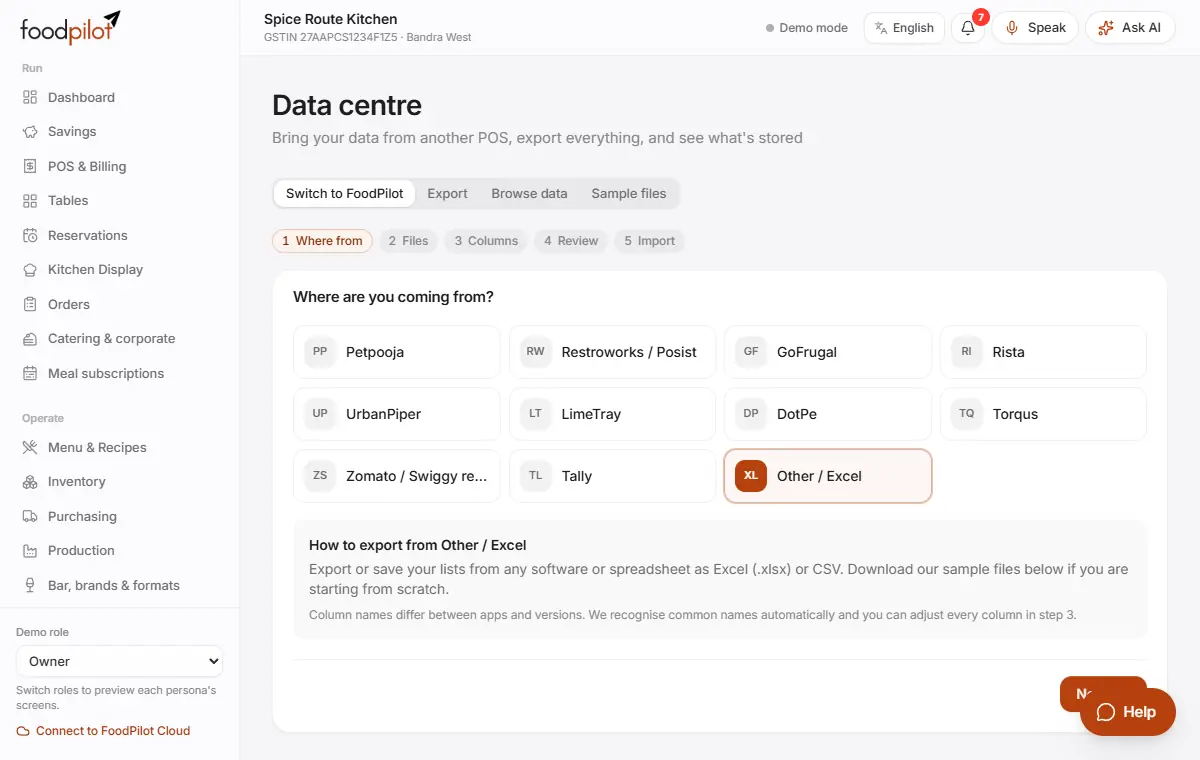
- Coming from another POS? Bring your menu, customers and past bills from Data centre → Switch to FoodPilot.
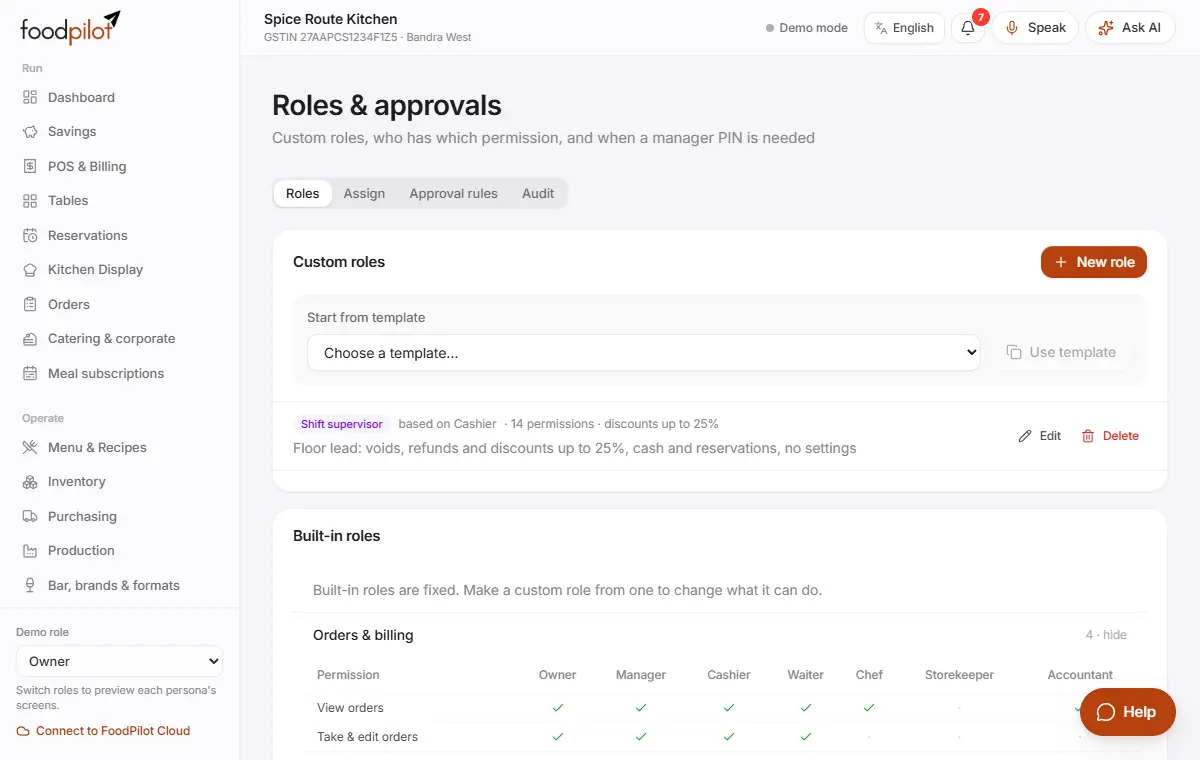
- Add staff sign-ins in Staff & payroll → Logins.
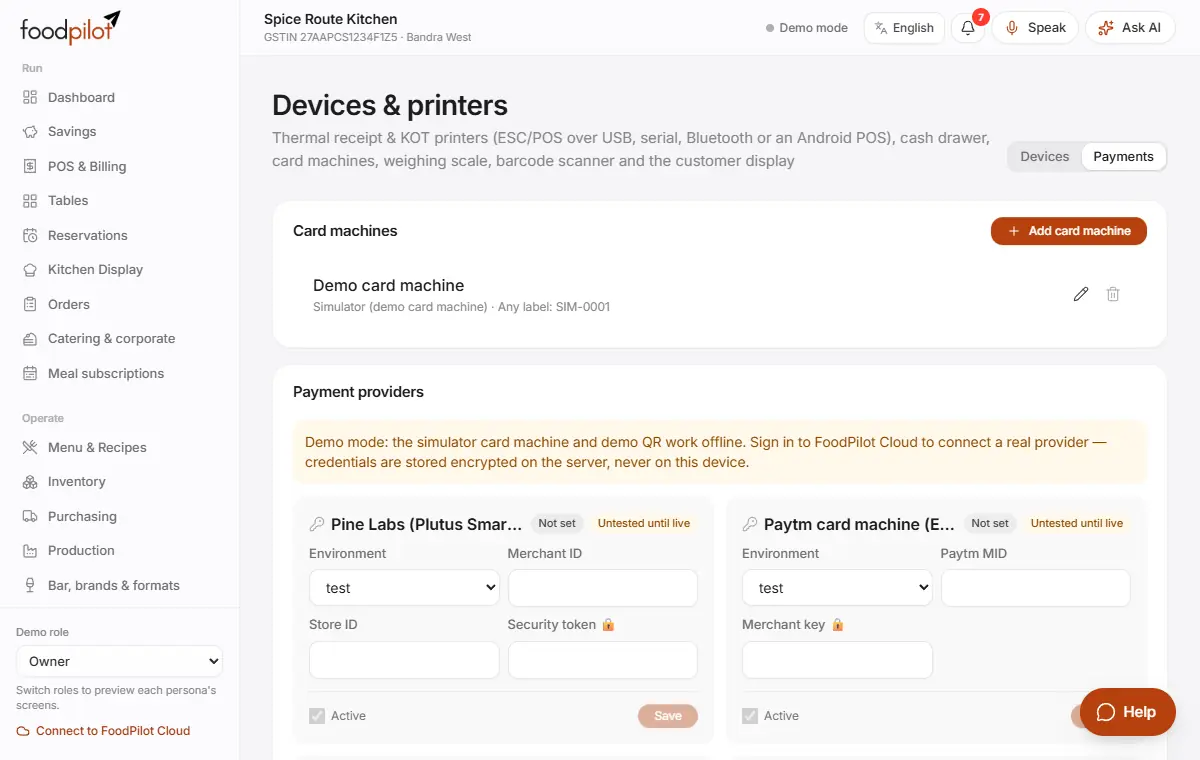
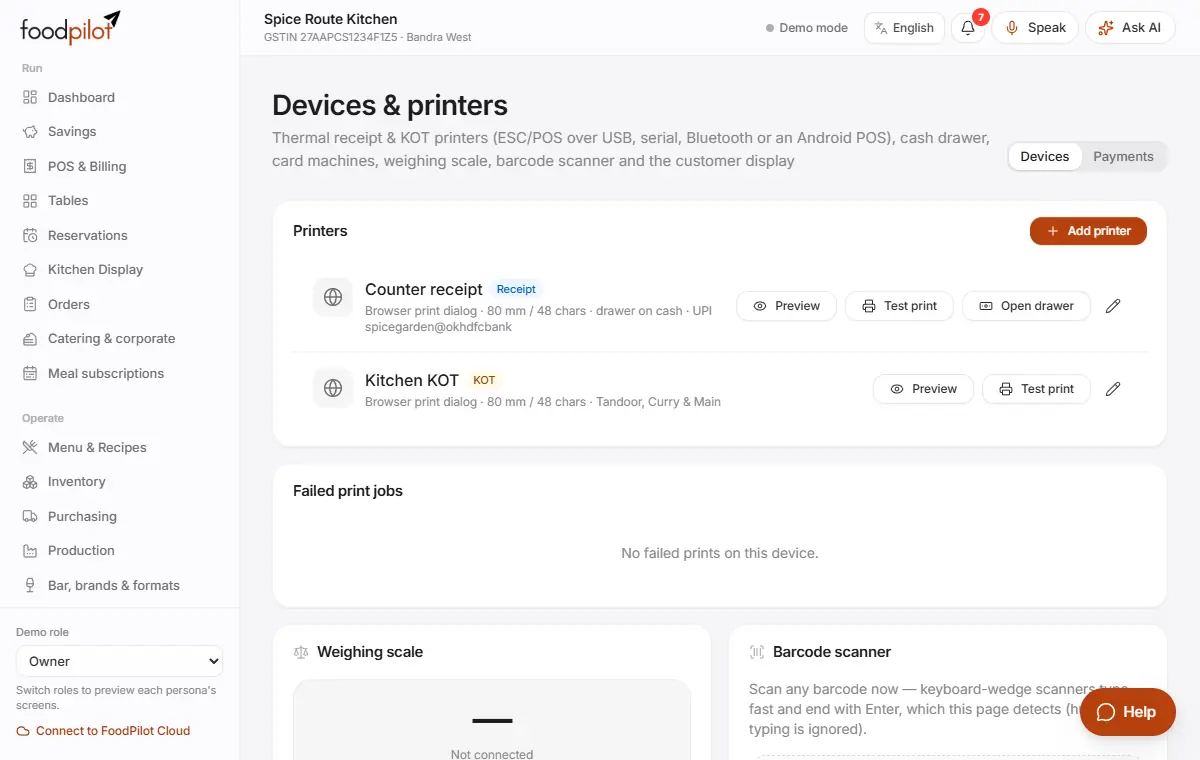
- Add your printers in Devices & printers before your first service.
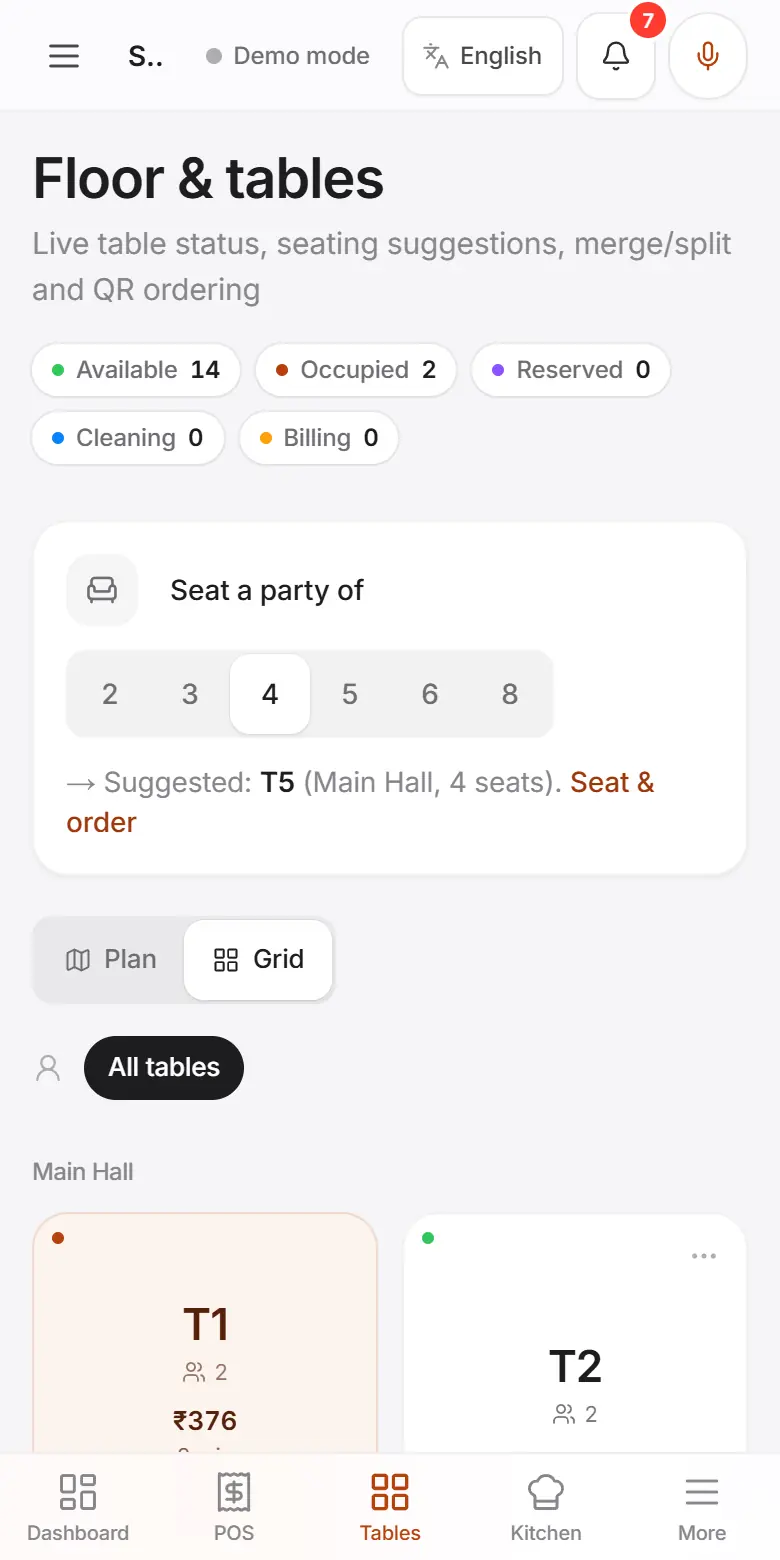
- Install FoodPilot like an app: in Chrome or Edge choose Install FoodPilot. On iPhone, tap Share → Add to Home Screen.
- Hidden modules keep their data. Show them again from Setup → Edition → Modules in navigation.
Common problems
- I didn't get the email code.
- Check your spam folder and wait a minute. Codes come from no-reply@foodpilot.org. You can also sign up with Google or a mobile number.
- It says my GSTIN doesn't look right.
- A GSTIN has 15 characters and starts with your state code. You can leave it blank and add it later in Setup → Profile & GST.
- A module is missing from the sidebar.
- Your edition may hide it, or your role may not include it. The owner can show it in Setup → Edition → Modules in navigation. A lock icon means your plan doesn't include it.
- It says my session expired.
- Log in again. Work saved on this device is kept and syncs after you log in.