Money 3 min read

Payments: UPI and card machines

भुगतान: UPI और कार्ड मशीन

Take cash, UPI and card payments that go straight to your own bank, with an auto-confirmed UPI QR.

नकद, UPI और कार्ड से भुगतान लें। पैसा सीधे आपके अपने बैंक में, UPI QR अपने-आप कन्फ़र्म।

Updated

Whole guide as PDF

What it does

Guests pay you directly: to your own UPI ID, your own Razorpay account or your card machine. FoodPilot never holds your money.

Show a UPI QR for the exact amount on the bill, on a customer screen or on the guest's phone.

With Razorpay or a supported card machine, payments confirm by themselves.

Who uses it
OwnerManagerCashier
Which plan
Every plan, including Free
Where to find it
Sidebar → Devices & printers → Payments
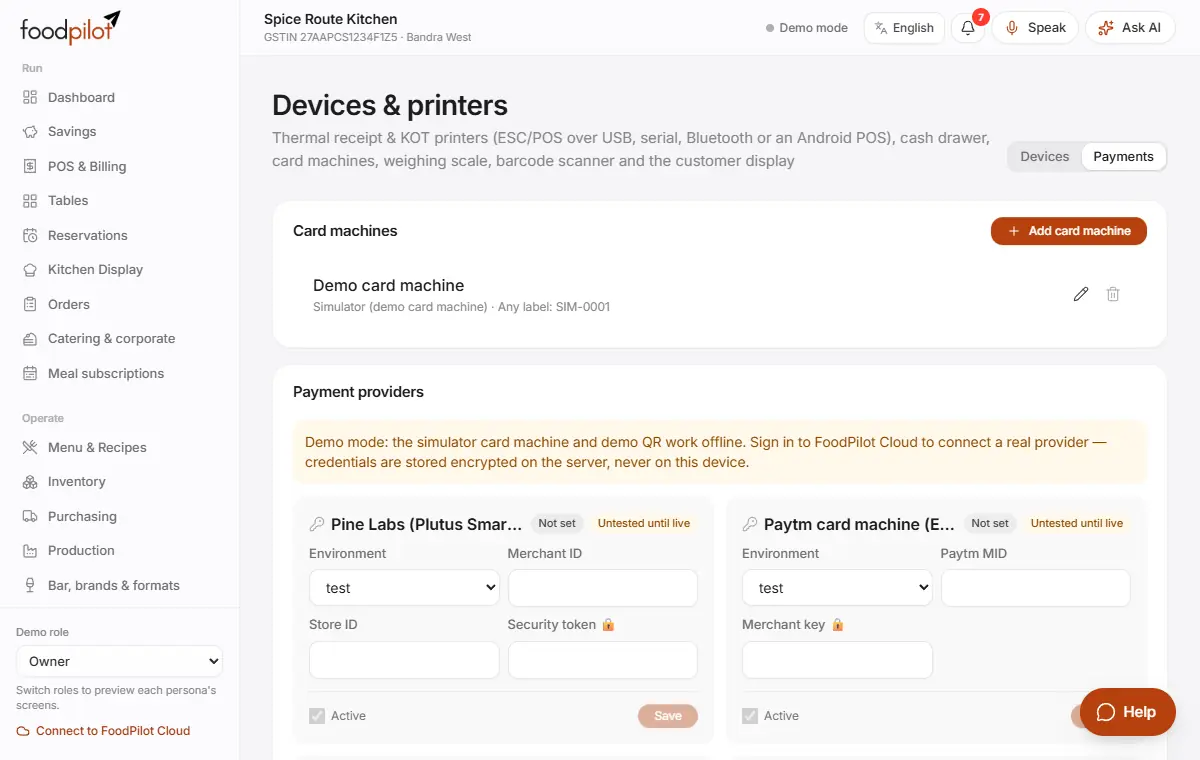
Devices & printers, Payments tab: card machines, payment providers and table QR pay settings

How to

Take a payment at the POS

POS & Billing → Pay → choose how → Settle

  1. Step 1: Tap Pay.
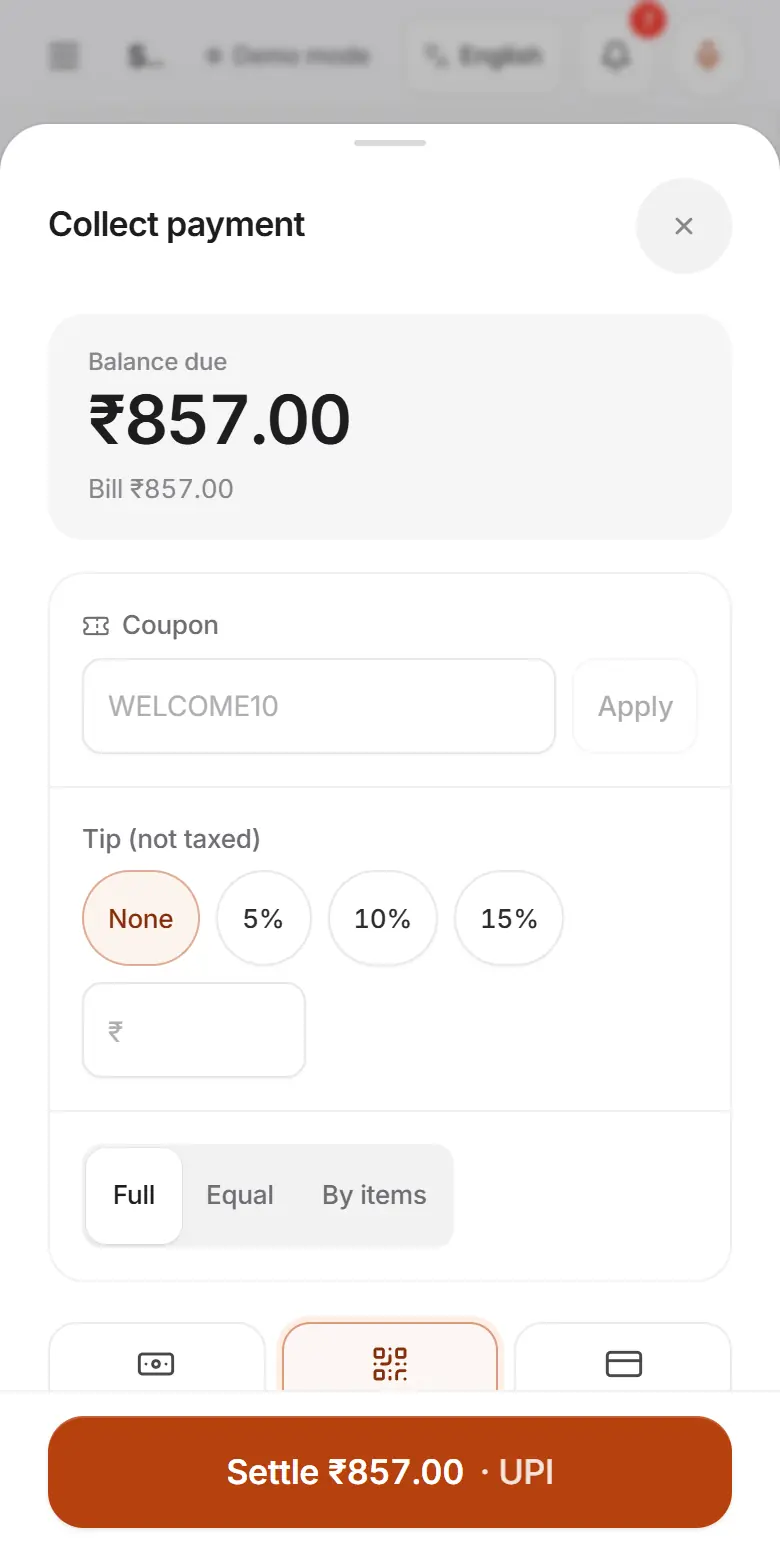
  2. Step 2: Choose Cash, UPI, Card, Card machine, UPI QR (auto) or Gift card. Points, wallet, company account and room charge show up when they apply.
  3. Step 3: For cash, tap the note the guest gave (₹100, ₹200, ₹500 or ₹2000). FoodPilot shows the change to return.
  4. Step 4: Tap Settle.
The Collect payment sheet on a phone with the ways to pay and the Settle button

Add your UPI ID

Devices & printers → Devices → edit the receipt printer

  1. Step 1: Open Devices & printers and edit your receipt printer.
  2. Step 2: Turn on Print a UPI QR on bills with a balance due and type your Merchant UPI ID (VPA), for example name@bank.
  3. Step 3: Tap Save. Bills now carry a UPI QR for the exact amount.
  4. Step 4: Check that the money has arrived in your UPI app before you settle the bill as UPI.

You can also save the UPI ID in the Customer display card.

Confirm UPI by itself with Razorpay

Devices & printers → Payments → Payment providers

  1. Step 1: Open Payments → Payment providers. Only the owner can do this.
  2. Step 2: Choose Razorpay and enter your Key ID, Key secret and Webhook secret from your own Razorpay account.
  3. Step 3: At the POS, choose UPI QR (auto) and tap Show UPI QR. When the guest pays, the bill shows Payment received.

Use a card machine

Devices & printers → Payments → Add card machine

  1. Step 1: Tap Add card machine. Choose the provider (Pine Labs, Paytm card machine or Razorpay POS), give it a name such as "Counter EDC", and tap Save.
  2. Step 2: The owner adds the provider's keys under Payment providers.
  3. Step 3: At the POS, tap Pay → Card machine → Charge on card machine. The amount goes to the machine and the bill settles when the card is approved.

Show the bill on a customer screen

Devices & printers → Customer display → Open customer display

  1. Step 1: Tap Open customer display.
  2. Step 2: Drag the window to the second screen and press F11 for full screen.
  3. Step 3: Guests see their order, the total and a UPI QR to scan.
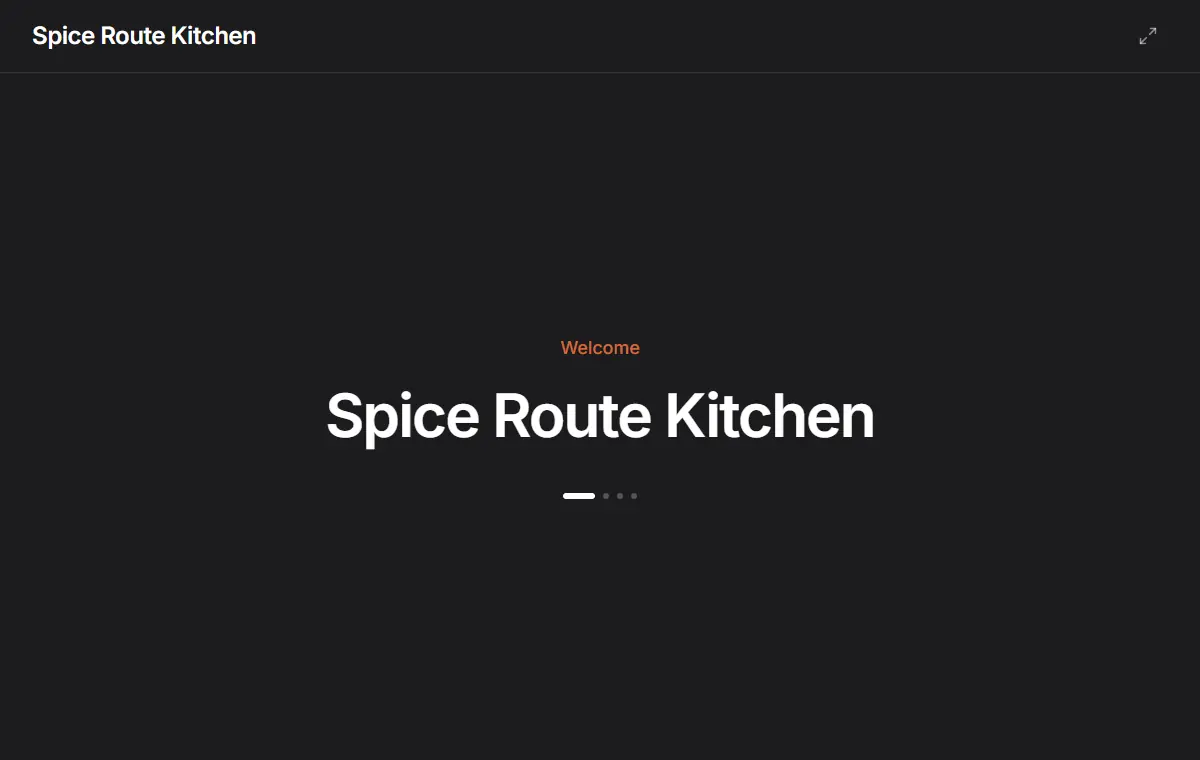
The customer display welcome screen

Add a tip

  1. Step 1: In the pay sheet, pick a tip: none, a percentage or an amount in ₹.
  2. Step 2: Choose whether the tip was paid in Cash or Card / UPI. Tips are not taxed.

Tips

  • Machines without a direct link (such as Mswipe): charge on the machine and record the payment as Card.
  • Provider keys are stored encrypted on FoodPilot's servers, never on the device.
  • In the demo, the card machine simulator approves in about 3 seconds.

Common problems

A UPI payment isn't confirming.
With only a UPI ID, FoodPilot can't see your bank. Check your UPI app, then settle as UPI. For automatic confirmation, connect Razorpay.
It says no card machine is set up.
Add one in Devices & printers → Payments → Add card machine.
I closed the pay sheet after the card was approved.
FoodPilot asks before closing. Open the bill again and settle it. The payment is only counted once.
Pine Labs, Paytm or Razorpay POS won't connect.
These need your own merchant account with the provider. Ask them for the API keys. Card machine and auto-UPI payments need internet.

Coming soon

  • Meal-card payments such as Pluxee and Zaggle

Read next

Help articles

The same articles the AI help chat uses. In the app: Help & support → Help articles.

UPI and card paymentsUPI और कार्ड से पेमेंटRead

The ways FoodPilot can take UPI and card payments at the counter, and where to set them up.

UPI: two options

  • UPI with your own UPI ID: the customer scans a QR showing your UPI ID, and the cashier checks the money has arrived before settling. No payment gateway needed. Add your UPI ID in Devices & printers → Devices, either on the receipt printer or in the Customer display card.
  • UPI QR (auto): a one-time QR for the exact amount that closes the bill by itself when the customer pays. It needs your Razorpay account connected in Devices & printers → Payments → Payment providers. Without a gateway, this QR uses your UPI ID and you confirm receipt yourself.

Card machines

  1. Go to Devices & printers → Payments → Add card machine.
  2. Choose the provider, give it a name and tap Save.
  3. The owner enters the provider's credentials under Payment providers. They are stored encrypted on the server, never on the device.

What works today:

  • The simulator (demo card machine) works for testing and training.
  • Pine Labs, Paytm card machine (EDC) and Razorpay POS need your own merchant account with that provider, and have not yet been tested against live accounts.
  • Mswipe has no direct link yet: charge on the machine and record the payment as Card.

Taking the payment

On POS & Billing, tap Pay. Choose Card machine and tap Charge on card machine, or choose UPI QR (auto) and tap Show UPI QR. The QR also appears on the customer display. When the money arrives, the bill shows Payment received.

Customer display

In Devices & printers, tap Open customer display and drag the window to a second screen (F11 for full screen). It shows the live bill, GST totals and the UPI QR for the exact amount.

Good to know

Connecting a real provider needs a FoodPilot Cloud sign-in, and card machine and auto-confirm UPI payments need internet.

UPI or card payment not confirmingUPI पेमेंट कन्फ़र्म नहीं हो रहाRead

What to do when a UPI or card payment doesn't mark the bill as paid.

First, check which UPI you used

  • UPI (your own UPI ID) never confirms by itself. Check the money has arrived in your UPI app, then add the amount and tap Settle.
  • UPI QR (auto) without a payment gateway also needs you: when the money shows in your UPI app, tap Payment received (you can add the UPI ref / UTR).
  • UPI QR (auto) with Razorpay connected confirms by itself once the payment reaches FoodPilot.

If the auto QR doesn't confirm

  1. Read the message on screen. "Waiting for the customer to scan and pay…" means FoodPilot hasn't received the payment yet.
  2. Ask the customer to show the success screen in their UPI app, and check your Razorpay account.
  3. Check this device's internet. The status at the top of the screen should not say Offline.
  4. A QR expires after 10 minutes ("The QR expired before payment. Generate a new one."). Tap Cancel payment, then Show UPI QR again.
  5. Don't ask the customer to pay twice. If the money has clearly arrived but the bill hasn't updated, open the order in Orders to see whether the payment was already added before recording it again with the UPI method.

Card machine timeouts

A card prompt expires after 3 minutes ("The card machine timed out. Try again."). Check the machine is on and connected, then charge again. If the machine printed an approved slip but FoodPilot shows a failure, don't charge again: check Orders first.

Closing the payment window

If you close Collect payment after a card or UPI payment was received, FoodPilot warns you before closing. Reopen the order to settle the rest.

If it still doesn't work

Raise a ticket in Help & support with the order number, amount, time, payment method and UPI reference.